Knitting in the round vs. Knitting flat
There are two ways that knit garments can be produced, either in the round or flat.
“In the round” means that the fabric is knit continuously around. The “rows” spiral upwards, with the end of one round horizontally next to the beginning of the following round. Only one side of the fabric is worked, usually the “right” side, which is the side intended to be seen. This produces seamless tubes, because it does not need to be sewn up at the end.
“Flat” means that the fabric is knit as a flat piece. At the end of each row, the knitter turns the work to the other side, switches the needles to the opposite hands, and starts working the reverse. Flat work is then sewn up at the end, which usually produces a seam. Depending on the method of sewing up and the fineness of the yarn, it is possible today to produce seams that are only visible from the inside to a casual looker, but close examination is usually able to reveal the seam.
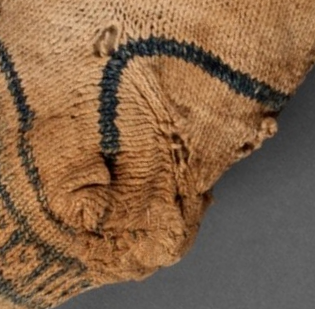
Due to the apparent lack of seam on the side in monochrome areas and the way the color “jogs” up at the switchover from one round to the next, this sock appears to be knit in the round.
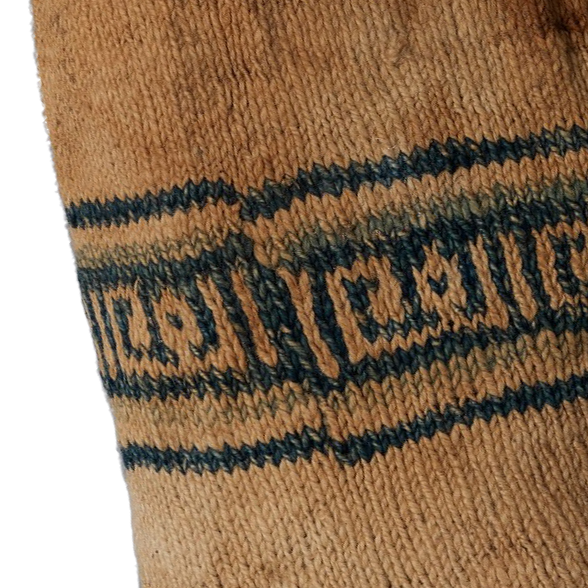
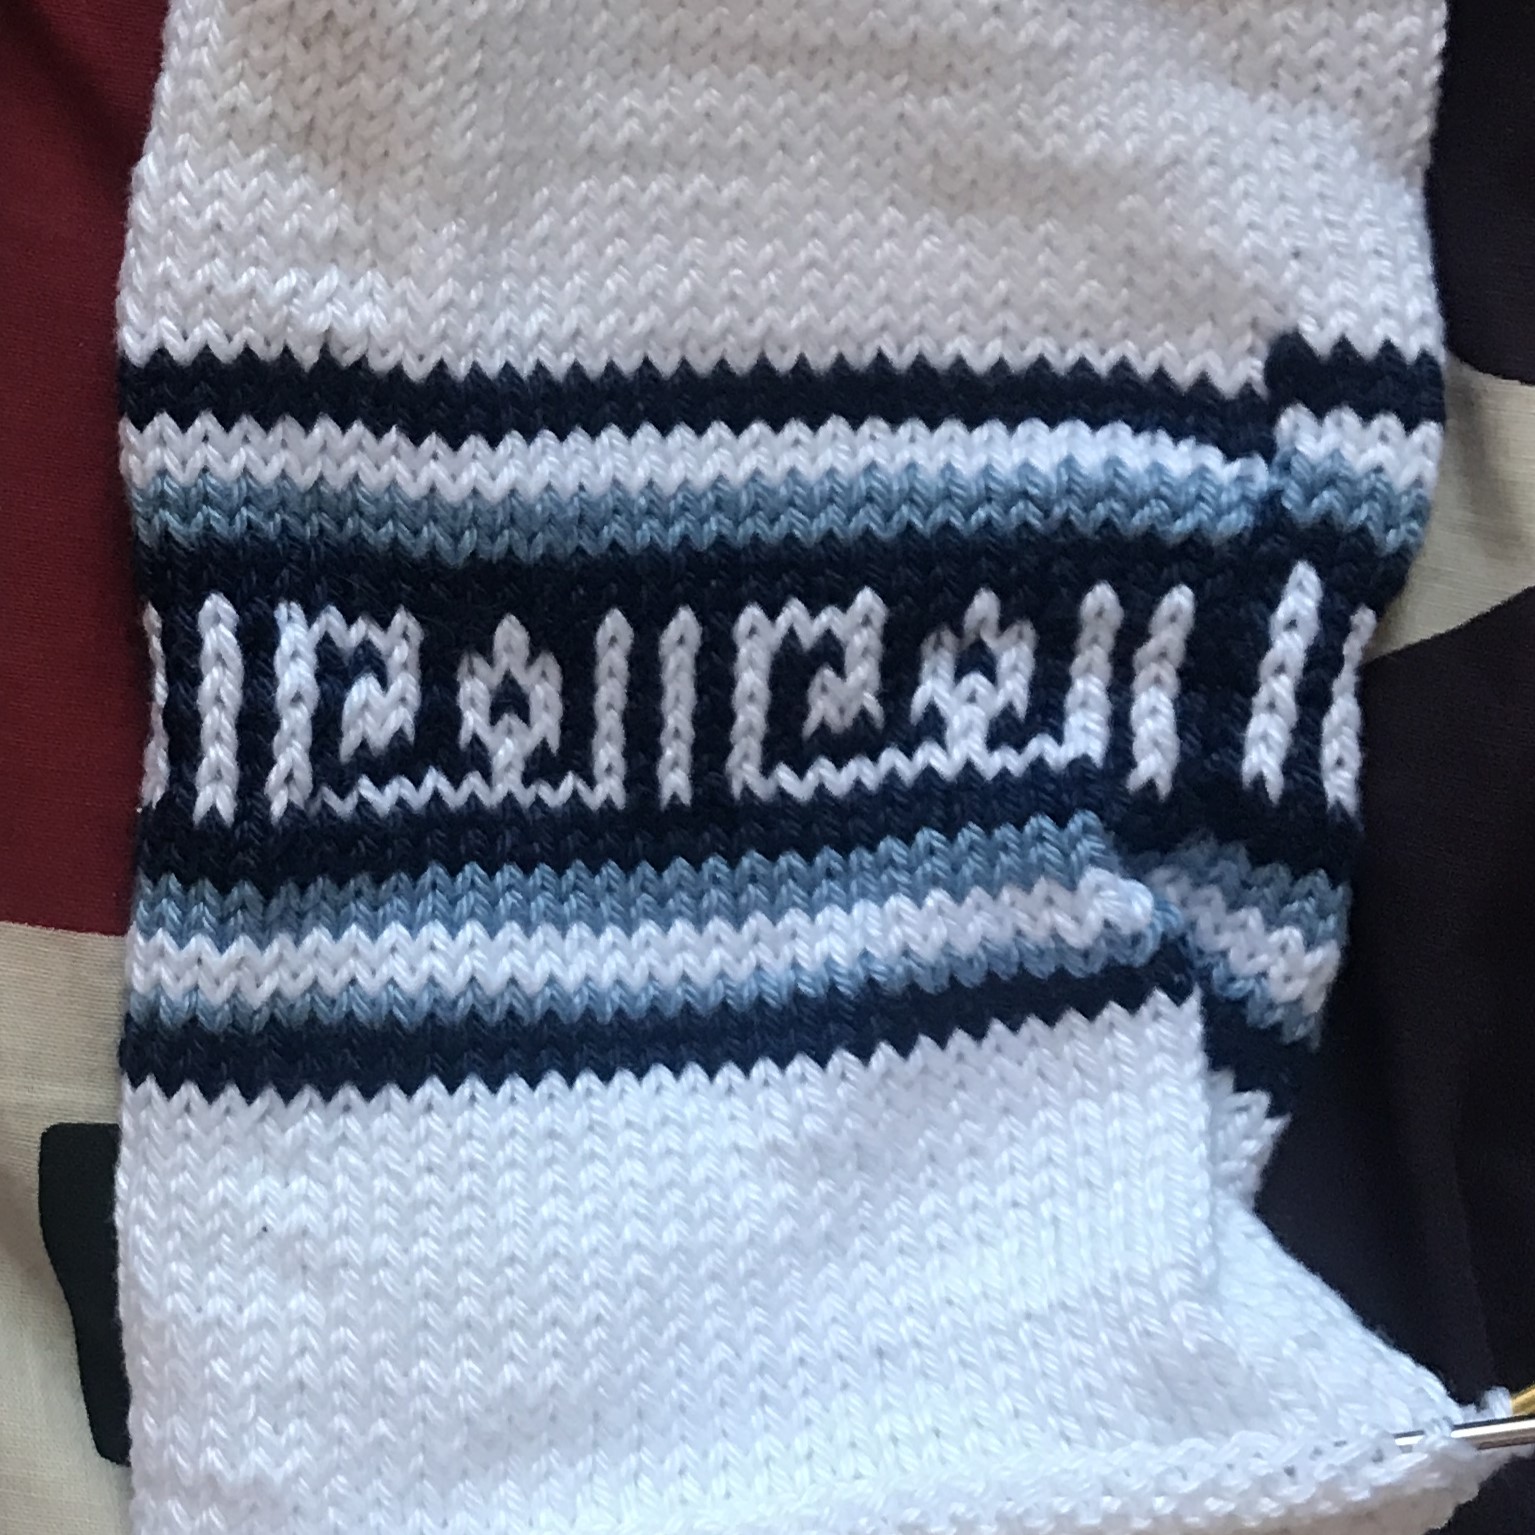
Even today, socks are always knit in the round. There are many reasons that contribute to this, including tradition, comfort, and stretch. As What is Knitting? discusses, knitting started exclusively in the round, and footwear was among the first kinds of knit garments produced. On a comfort level, seams dig into the skin when clothing is tight and next to the skin, so it is most comfortable to place the seam at the toe, which occurs in top-down sock knitting, or have no seam at all, as in toe-up sock knitting. The lack of side seam also allows the fabric to stretch more flexibly to fit the foot as it moves and to fit different sizes of feet.
More structurally complex garments are produced in multiple parts. These parts can all be knit separately and then sewn together or in the case of parts like sweater sleeves, “live” stitches can be left on scrap yarn or a stitch holder while the body of the sweater is completed and then picked up later. The method of using live stitches means that there is less of a visible seam, but it can only sometimes be used. However, socks are just one piece, so we are not going to go into any further details on that here.
Toe-up vs. top-down
Since a sock is essentially a tube closed at one end, it can either be knit from the toe up or from the top down. I initially believed that this sock was knit toe-up, but after further in-person examination, I concluded that they were most likely knit top-down.
Knitting from the toe down produces a seam at the toe. This seam can take place along the outer edge of toes, as with tights, but it is often placed on top of the toes. Perhaps in that location, less stress is put on it and it causes less discomfort. Knitting toe-up can avoid the seam at the toe and allows for greater flexibility to determine how long to make the leg of the sock as you knit if you have a limited amount of yarn or are trying to divide it exactly evenly between two socks.
This sock appears to have a slightly different construction than modern socks, which makes sense given that this sock was created so early on in the history of knitting–makers were still figuring out the best methods for different parts of construction. I could not get a full 360-degree view of the toes when viewing the sock at the Met, but it appeared that there may be a seam at the toes. It actually looks gathered, as though rather than decreasing stitches, the creator just cinched the tube once they reached the desired foot length, and then perhaps whip stitched the remaining hole closed. This creates bulk in the toe area and is not how modern socks are made, but might be a reasonable way to close the toe of a sock without using any increase or decrease stitches. Intriguingly, the heel does use decrease stitches, so it’s unclear why those would not have been used for the toe as well. Perhaps while transitioning from nålbinding, since nålbinding’s methods of increase and decrease are so different from those used in knitting, previous knowledge of that making process could not be directly translated into knitting.
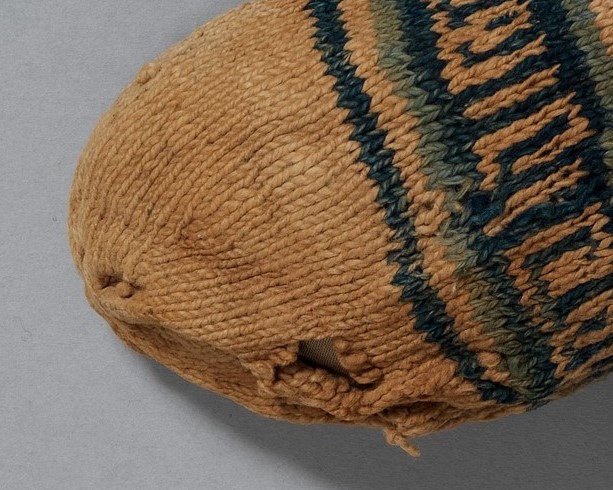
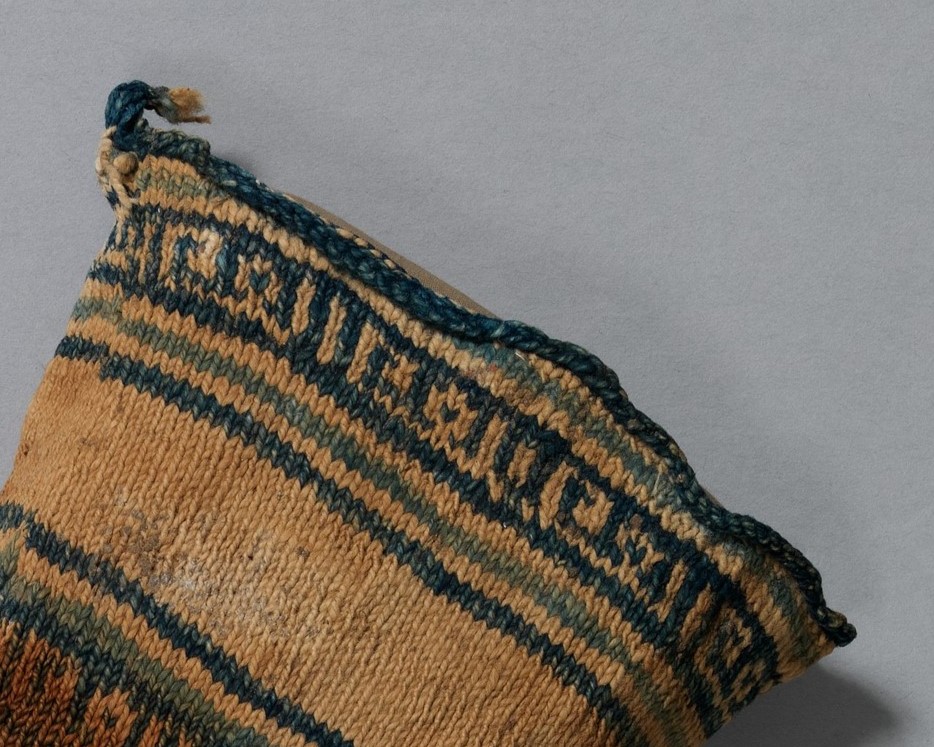
Many common methods of binding off result in what looks like a horizontal braid (or a single column of knit stitches) along the edge of the fabric, as the loops are hooked into each other. The top of the sock seemed to potentially have this appearance when I inspected the photos, however when I examined the sock in person at the Ratti Textile Center and was able to see this edge from more angles, it actually looked much more like a cast-on edge, which can often appear like one side of a braid. The edge also curled up, which I would not expect in a bound-off edge, which is typically firmer and thus more resistant to curling. The bound-off edge is also typically less stretchy than the cast-on edge, which can be an asset for the opening of a sock, which has to stretch around the leg.
Heel Construction
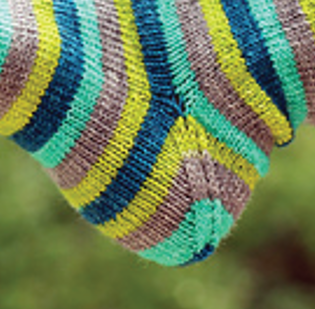
Sock heels can be constructed in myriad ways, and it is the primary way the sock diverges from its otherwise tubular construction. In order to really understand how this heel was constructed, I knew that I would need to try recreating it. I chose the Trusty Sock pattern whose “Afterthought” heel looked the most similar. The modeled socks have a sharper right angle in the stripe as compared to the Egyptian sock, which has a much more rounded curve. However, the Egyptian sock has a hole in the specific part that would cause the corner of the heel stripe to be pulled sharply up, which could mean that the heel stripe once had a sharper corner softened to create the current line that over centuries of this hole’s existence. The Egyptian heel and afterthought heel have the same kind of diagonal-looking chunk of rows at the apex of the heel. The way this is done is by knitting the heel on two double pointed needles, working the stitches with a third needle, and decreasing at either end of the needle. In this case, each needle had a knit stitch on the very end, and a decrease stitch second from the end. This results in the band of four columns of stitches that emanates from the corner of the heel. The patch on the heel has further deformed the original appearance of the heel. For more details on how exactly this kind of heel is constructed, visit Recreation.