
Step 1: Planning
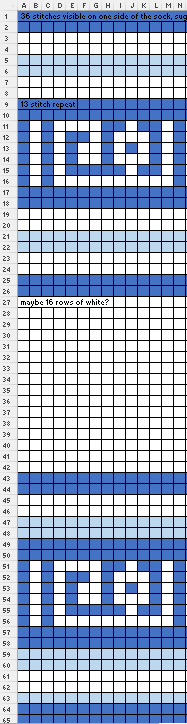
To start, I studied the three available images of the sock on the Met’s website. These socks, like many other examples of medieval Egyptian knitting, involves blue and white colorwork, so my first step was to make a chart. (For more on the colors, see the Colors section.) Based on analyzing the section near the heel, where the start of the round is visible, I counted a thirteen-stitch repeat, which I charted out with stripes below, and about 36 stitches visible from the image. I had previously knit a sock in fingering weight yarn on size 1 needles that was 64 stitches around, and the stitch count on the sample pattern I found vary from 60 inches for the smallest size to 72 inches for the largest size. I looked on Ravelry and decided to use Trusty Toe Up Socks as a sample pattern to base the reconstruction of the structure on because I am not that familiar with knitting toe-up socks, and I wanted to get an idea of different heel structures. I originally thought it was toe-up because it looked bound off at the top based on the photographs on the Met’s website. (See Toe Up vs. Top Down for more.) Basic socks are really just knit tubes except for the heel, which can vary. I thought the heel looked quite a lot like an afterthought heel but knew I would have to actually knit it to see.
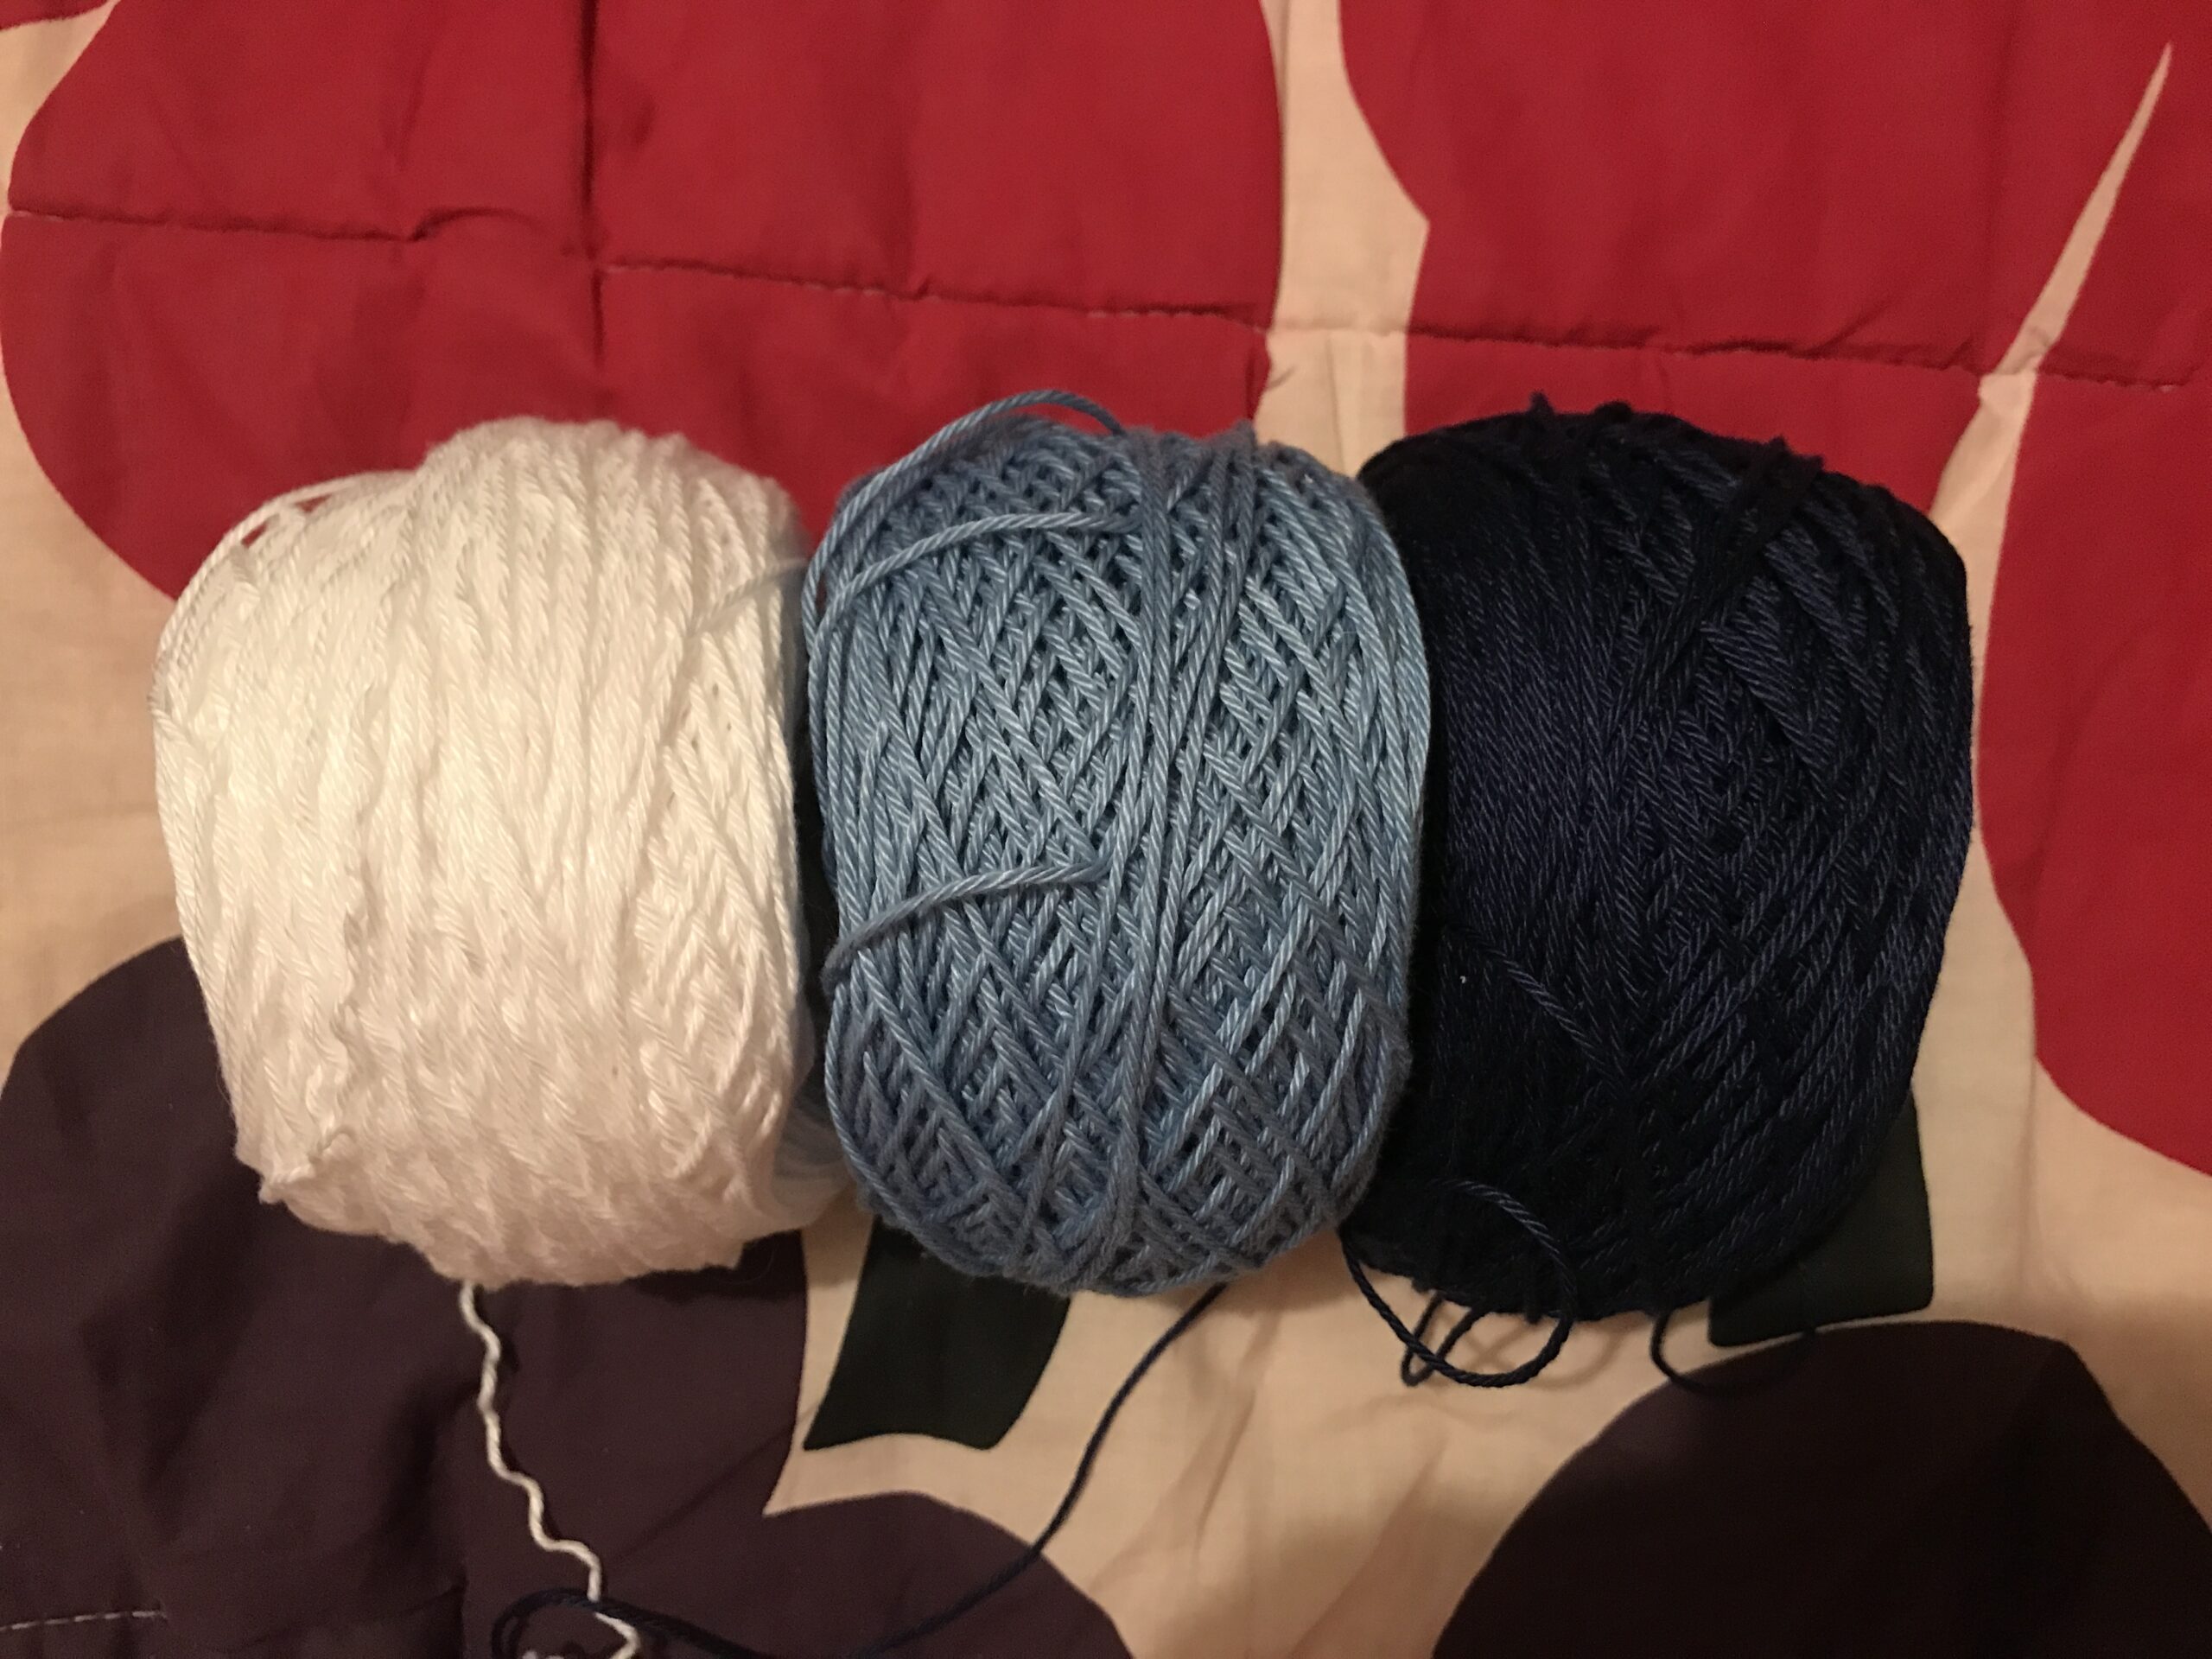
The Met describes the material of this sock as cotton, so I took them at their word. (See Fibers more on this.) I visited Knitty City on the Upper West Side to get white, light blue, and dark blue yarn. The lightest color is possibly undyed cotton rather than bleached white, but in our bleach-happy society, white is more readily available. Because this is a relatively short project and I am focusing on knitting rather than dyeing, I was not overly concerned with trying to exactly match the colors. Additionally, the sock itself is discolored, so it is difficult to know the exact original colors. (For more on the colors and indigo dyeing, see Colors.)
Purchasing Yarn
Visiting Knitty City, I found the thinnest all-cotton yarn available in my desired colors, which was Berroco Pima 100. Seemingly an approximately heavy fingering or a thin DK (double-knit) weight, I knew that it was thicker than the yarn used for the original sock just from preliminary counting of stitches based on the image.
Unexpected Changes
After visiting the sock in person at the Met, I determined that this sock is actually knit top-down rather than toe-up (for more on how I changed my mind, see Detailed Construction). I also realized that due to its non-modern construction, I couldn’t follow a modern pattern. So, I decided to just knit a tube based on gauge and the approximate size of the Trusty sock, and use the pattern for the Afterthought Heel from the Trusty sock pattern.
Gauge Swatch
The function of a gauge swatch is to see how many stitches and rows can fit within a given standardized area.
For following American patterns, this is usually 4 inches, and allows the maker to see whether they are matching the gauge of the pattern-creator. If you have a different gauge, the item will end up a different size. You can try to match gauge by using differently-sized needles or a different thickness of yarn. Even within the semi-standardized thickness scale of modern yarn, there can still be variations in thickness within a given weight.
For knitting without a pattern, a gauge swatch helps the maker calculate how many rows and stitches they need to include.
For this project, I calculated the gauge of my swatch and the original sock, and compared them to the gauge provided for the Trusty sock pattern. At the Met, the sock was measured in millimeters/centimeters because they are more exact, so I measured my swatch in both centimeters and inches for a closer comparison.
.
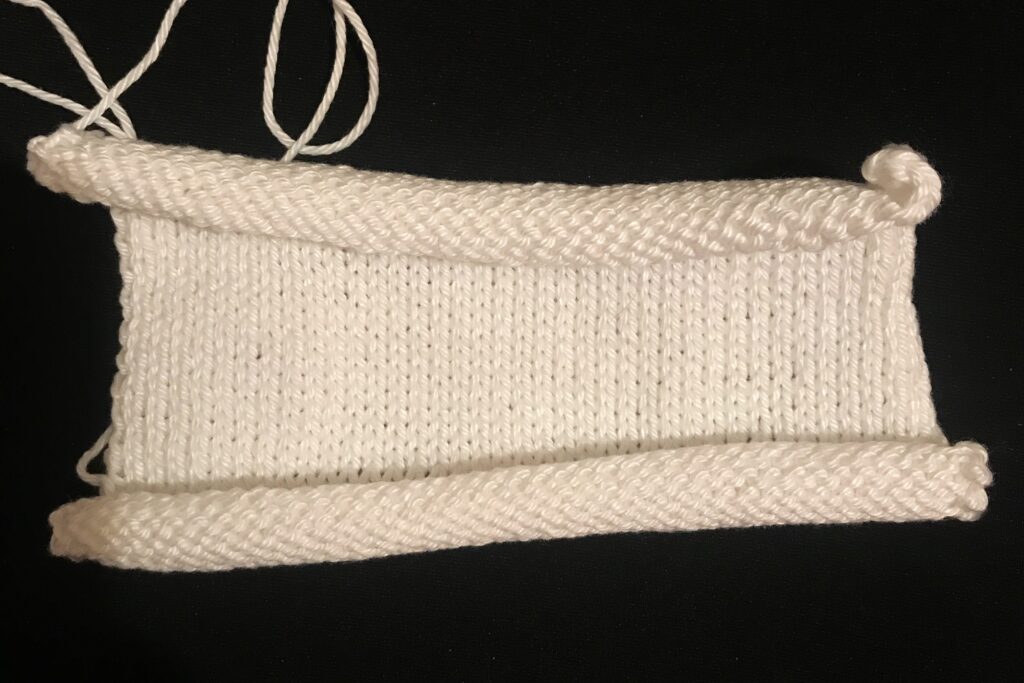
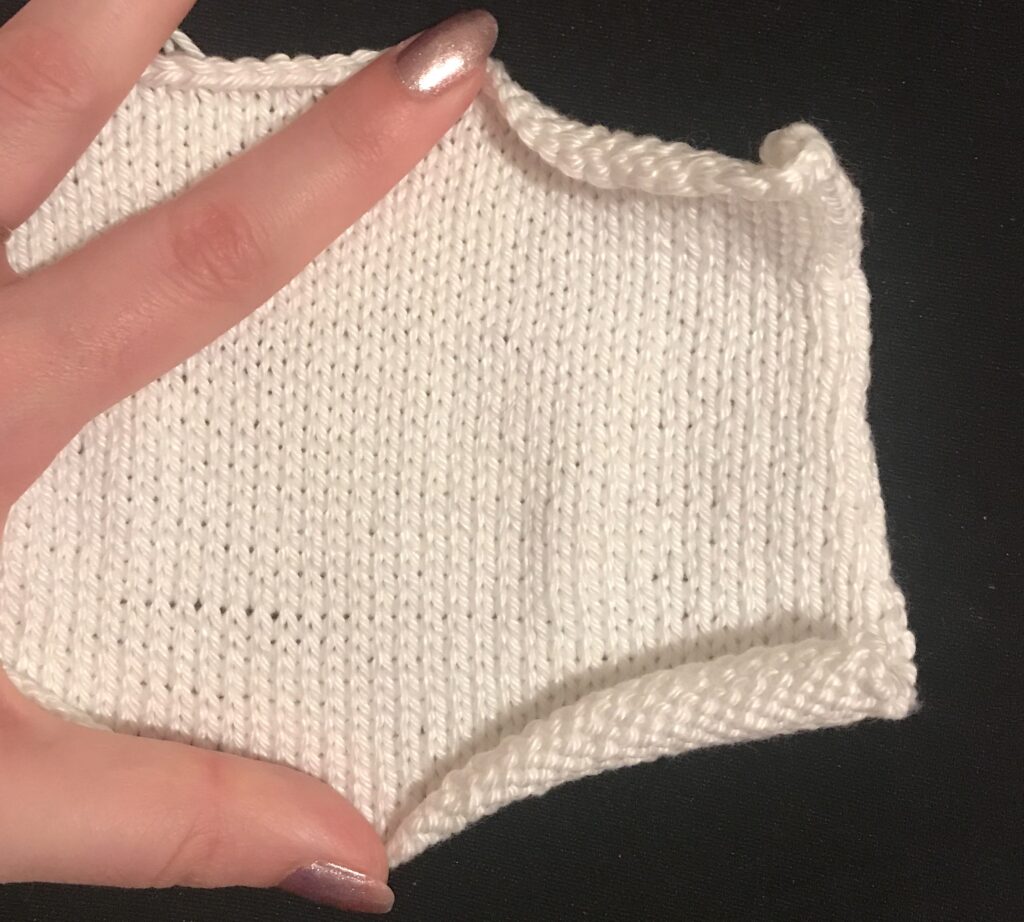
My swatch gauge
4 cm = 11 st, 15 rows
4 inches = 28 st, 38 rows
Pattern gauge
4 inches = 32 st, 46 rows
Original sock gauge
1 cm = 4.5 st, 6 rows
4 inches = ~46 st, ~61 rows
.
As you can see from the calculations, I only got about two thirds as many stitches on my swatch as compared to the original sock, and it was also slightly smaller than the Trusty pattern. To get a 9-inch circumference, as the Trusty sock did, I would need 63 stitches. Based on the repeat of the inscription, I knew my total count needed to be a multiple of 13 plus two. This took me up to 67 stitches total. I wanted to size up rather than down because it was closer and there is no ribbing or anything, so the sock will most likely not have much stretch. I was not concerned about the number of rows because I am easily able to count the number of rows for all parts except the toe.
Time to Knit!
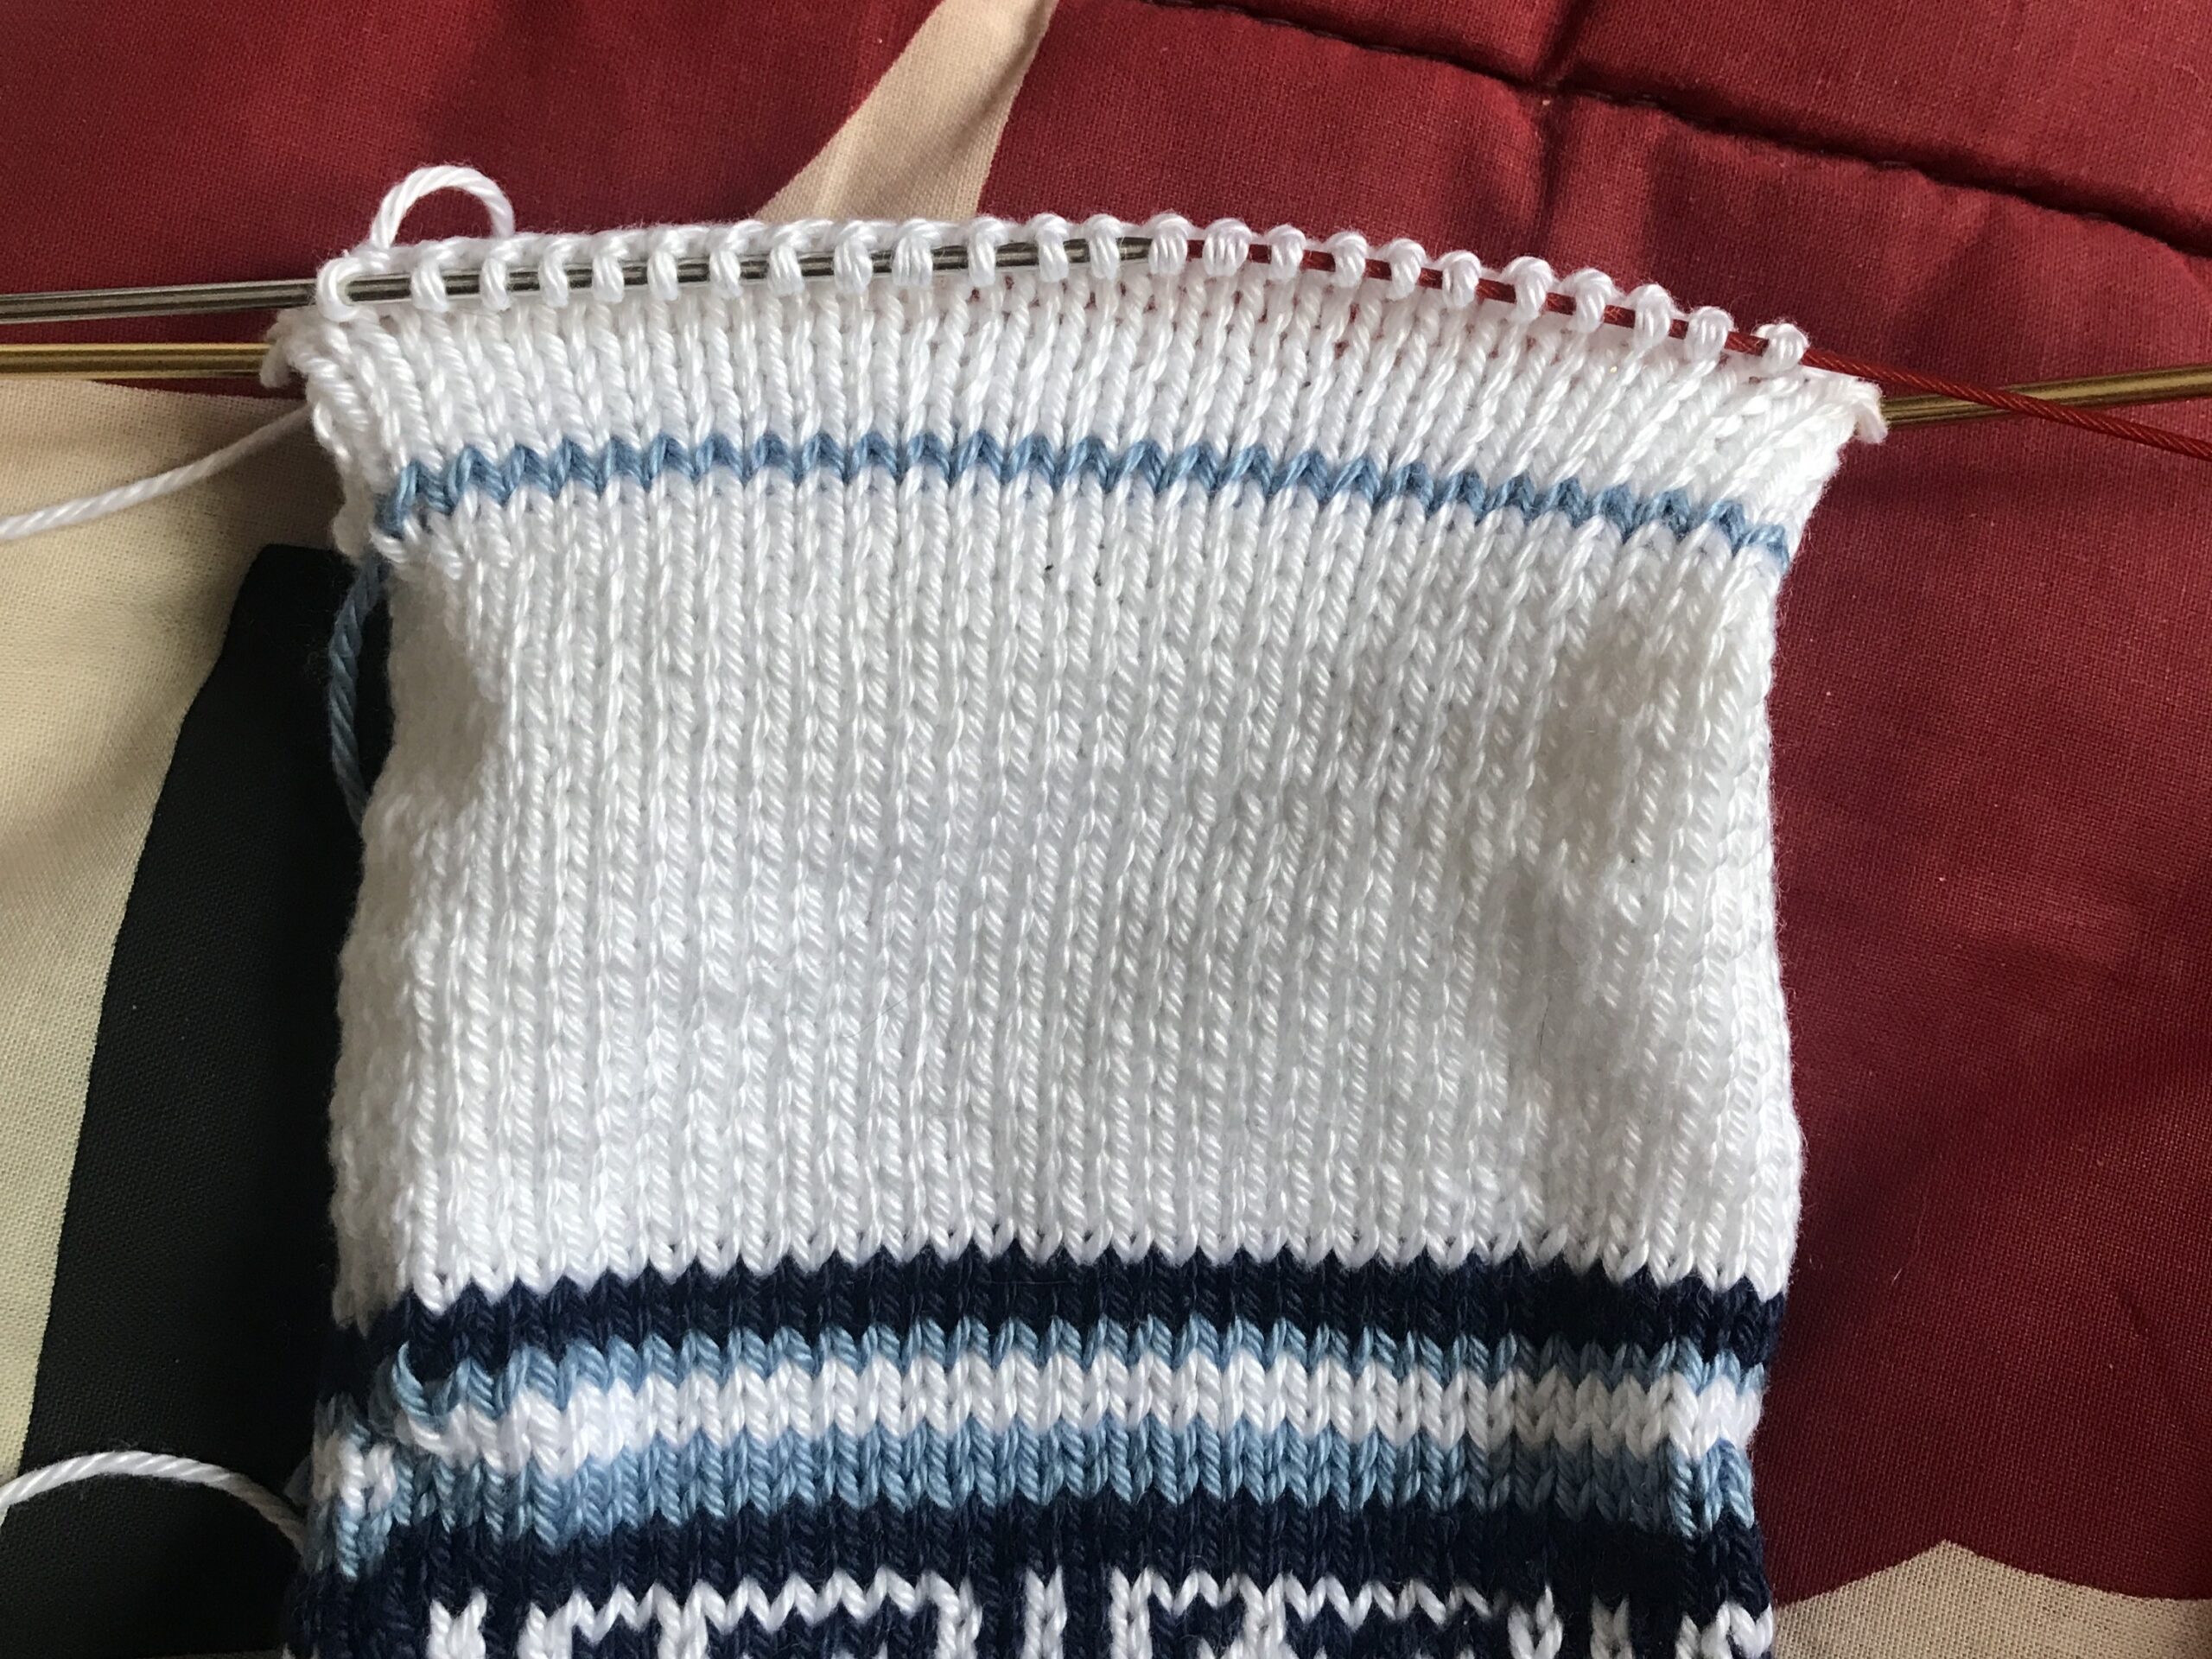
With hope in my heart, I cast on 67 stitches and started knitting, following the pattern as I went. I had quite large gaps in between the rows for the first couple rows, but as I continued to knit and was able to have more than two rows start with the same color, that issue evened out. I, like the knitter who made this centuries ago, am not perfect nor did I attempt to go back and fix this. This is perhaps where the story of woe begins.
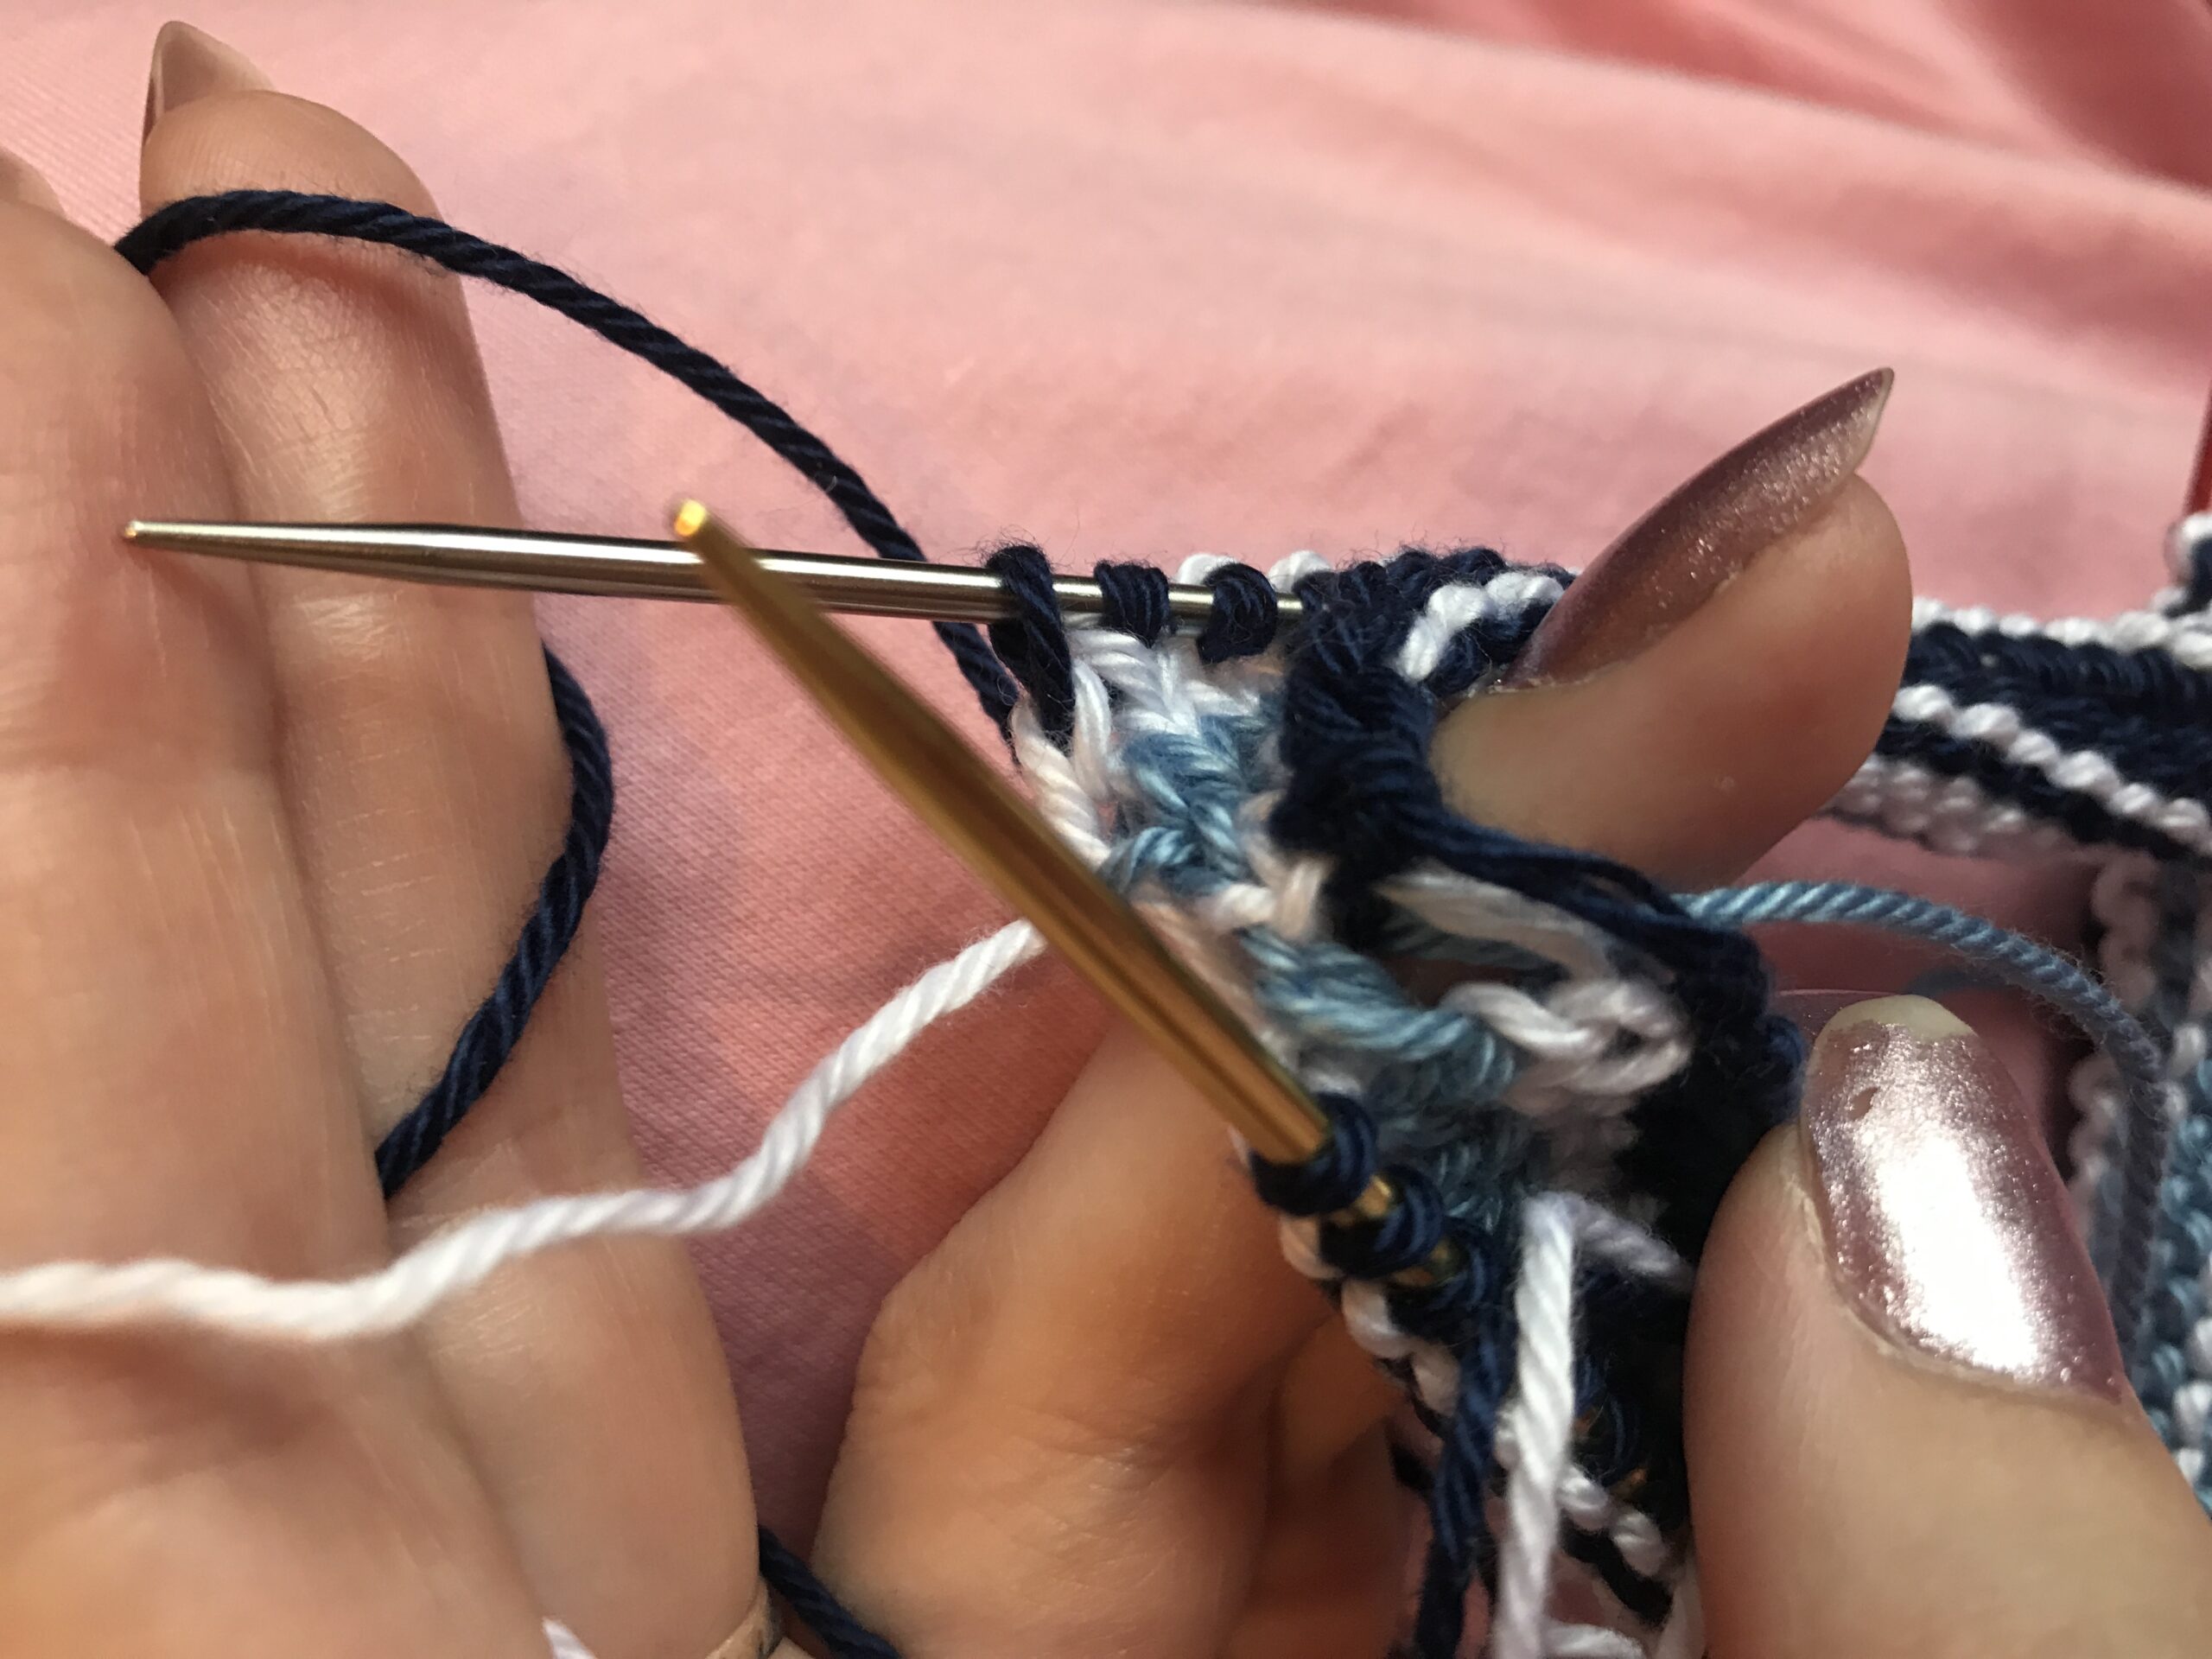
I did, however, go back and fix errors the first couple times I did the text section of the sock. First I only did one row of dark blue before the letters instead of two, then I omitted the third row and skipped straight to the fourth for no reason other than probable tiredness while knitting. The third time, I got it right and it started to look like an actual project.
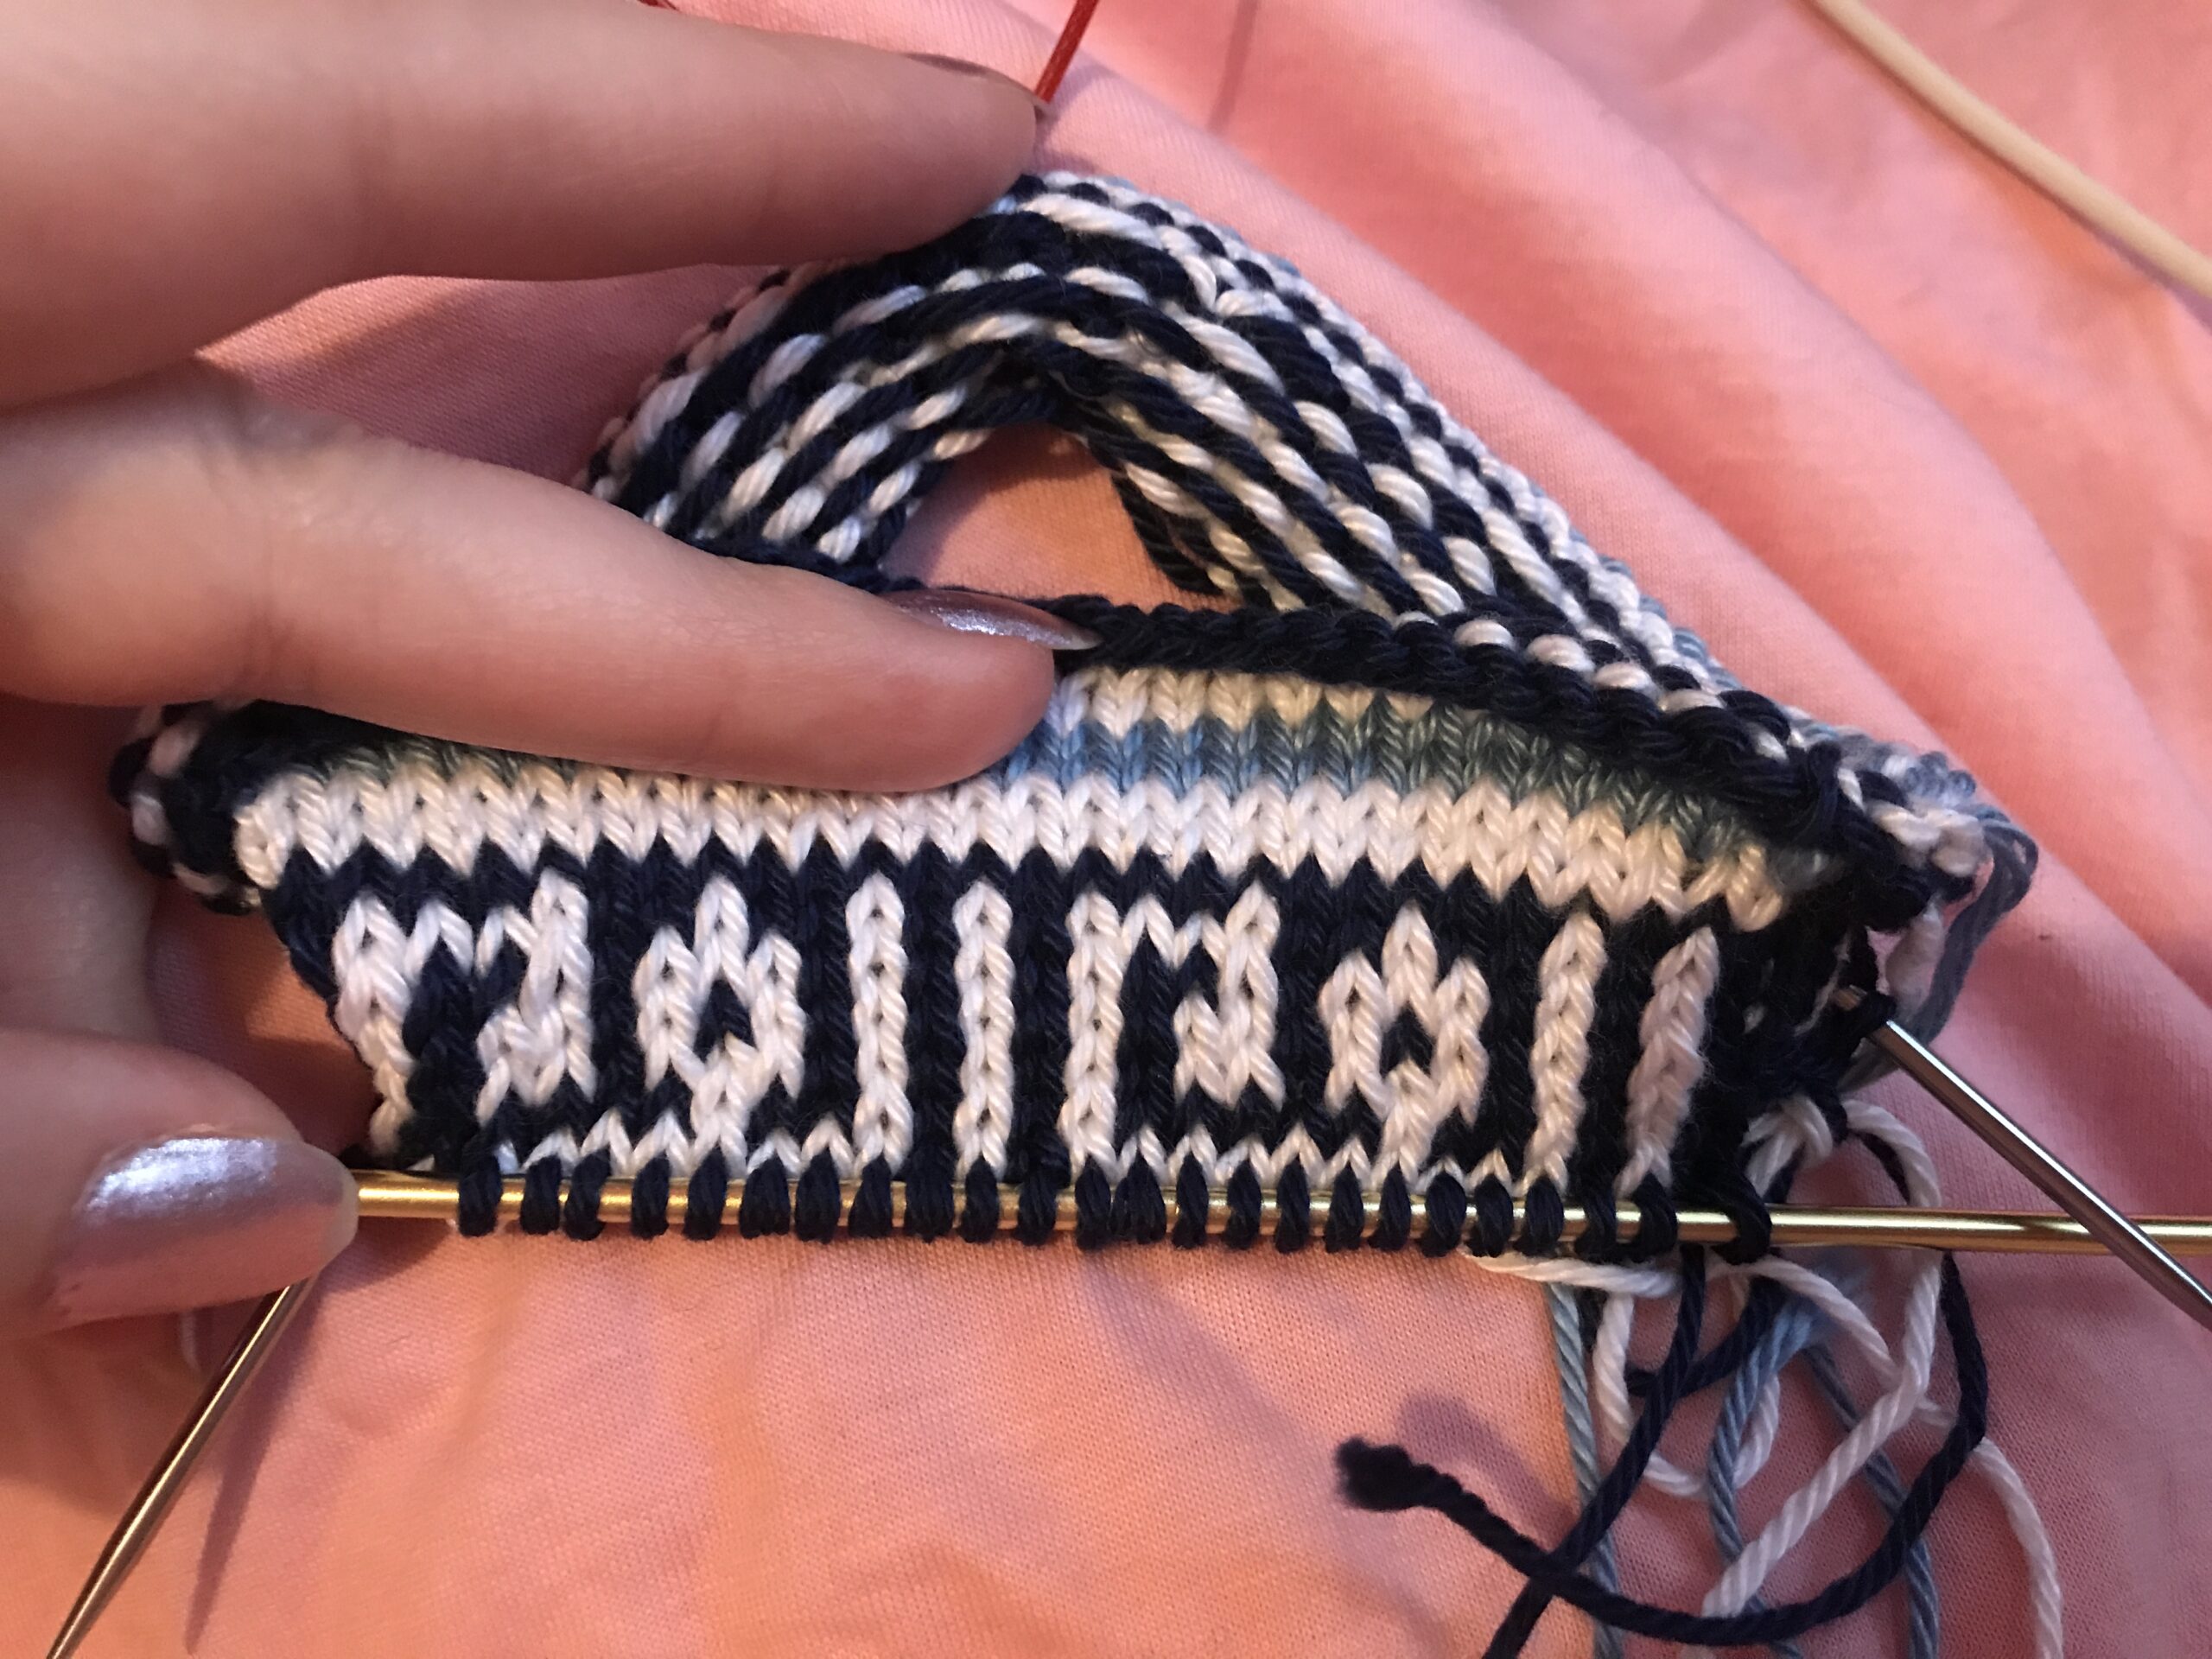
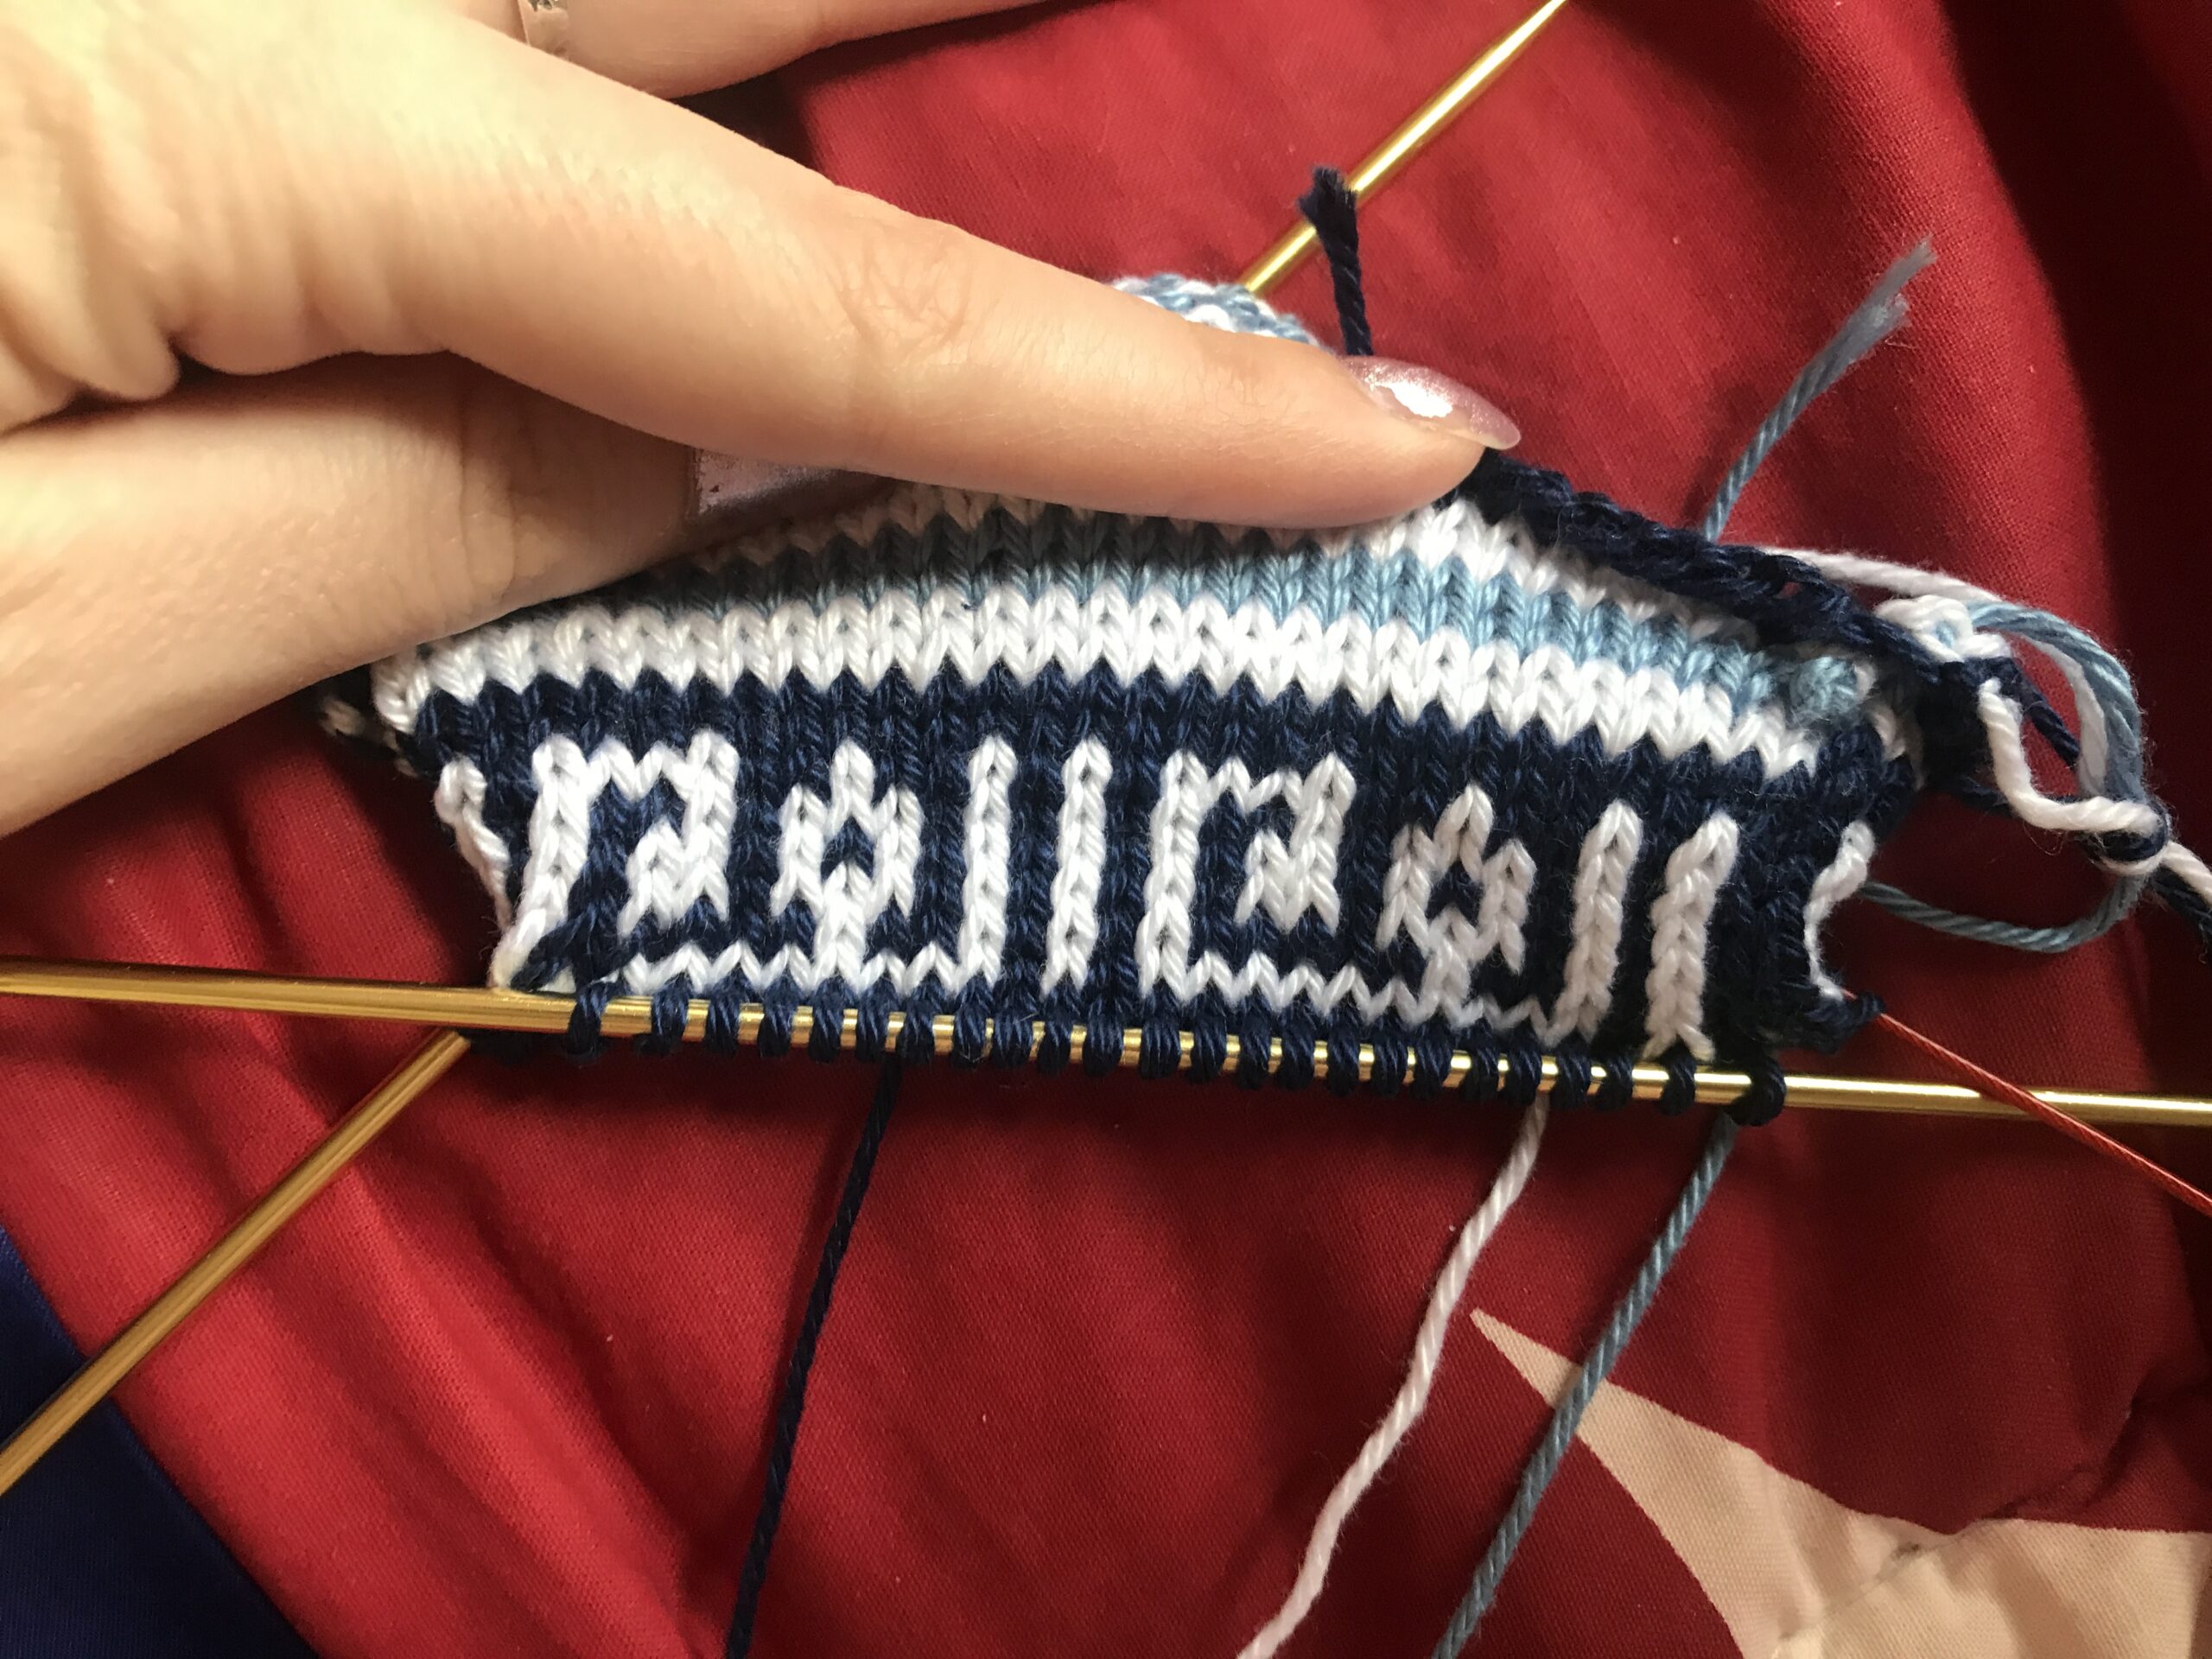
On its own, the top of the sock curls up quite a bit, but when I tried it on my arm (it can’t fit over my heel while on the needles), the curling decreased significantly.
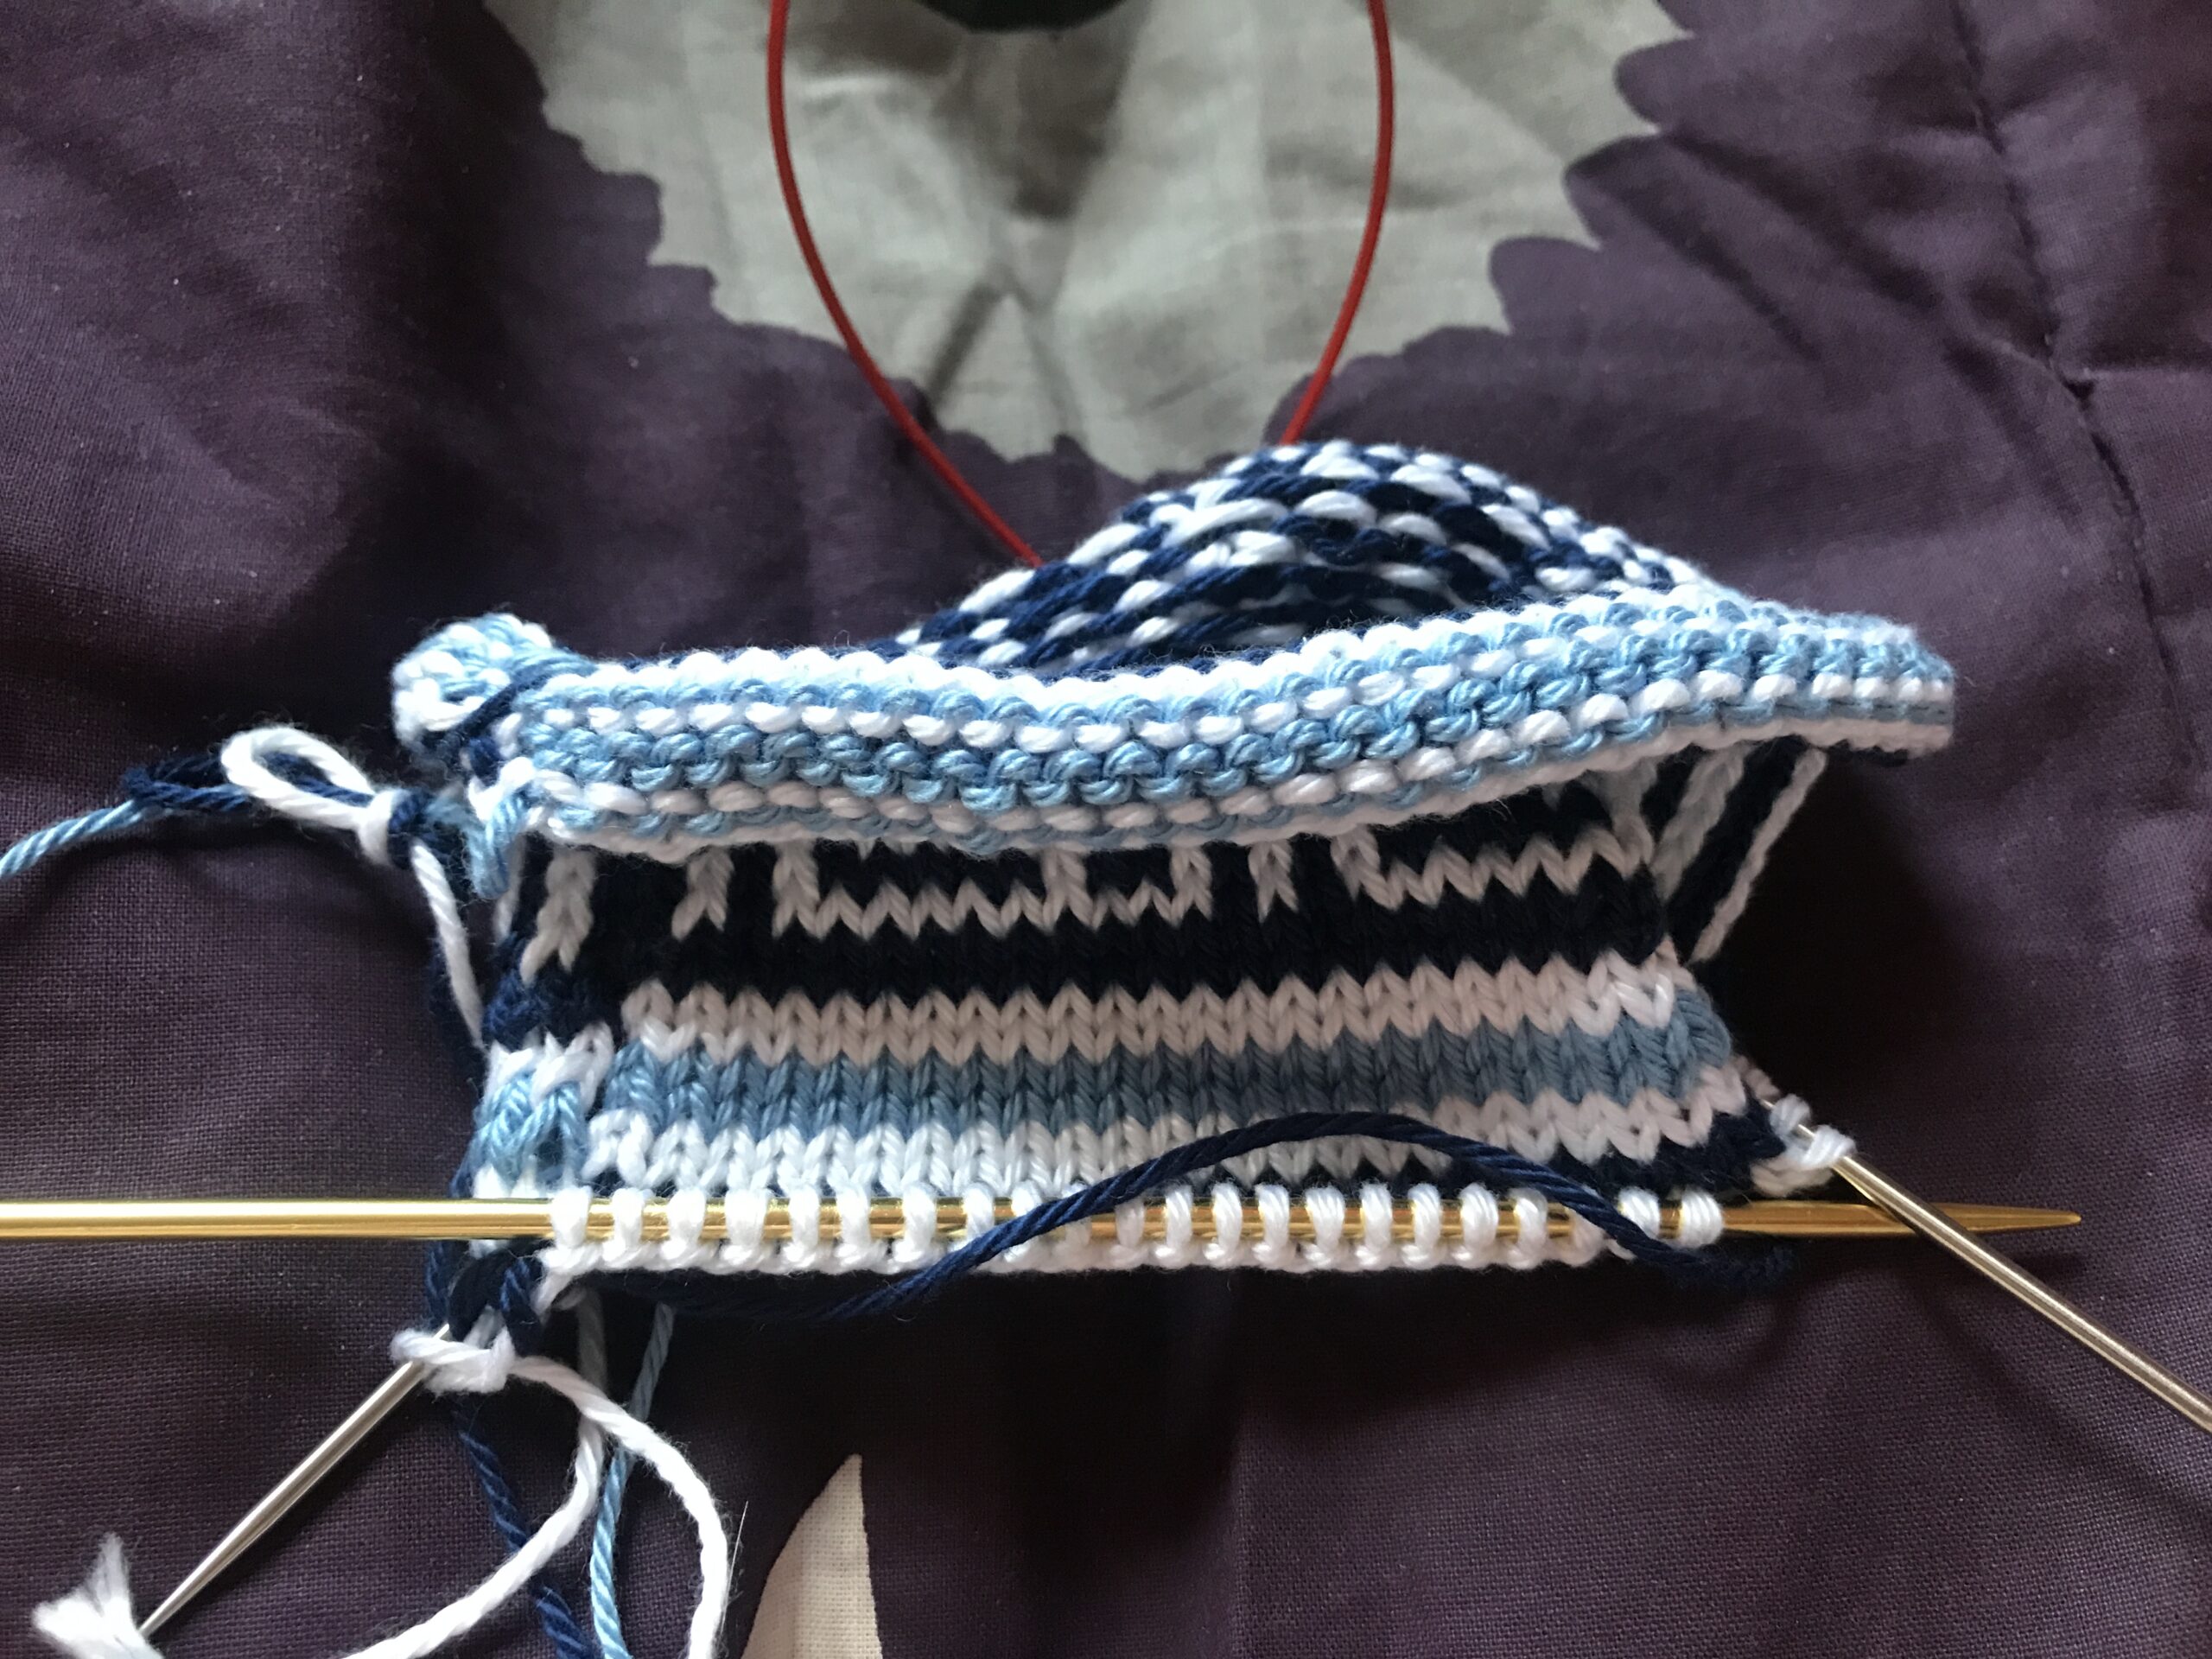
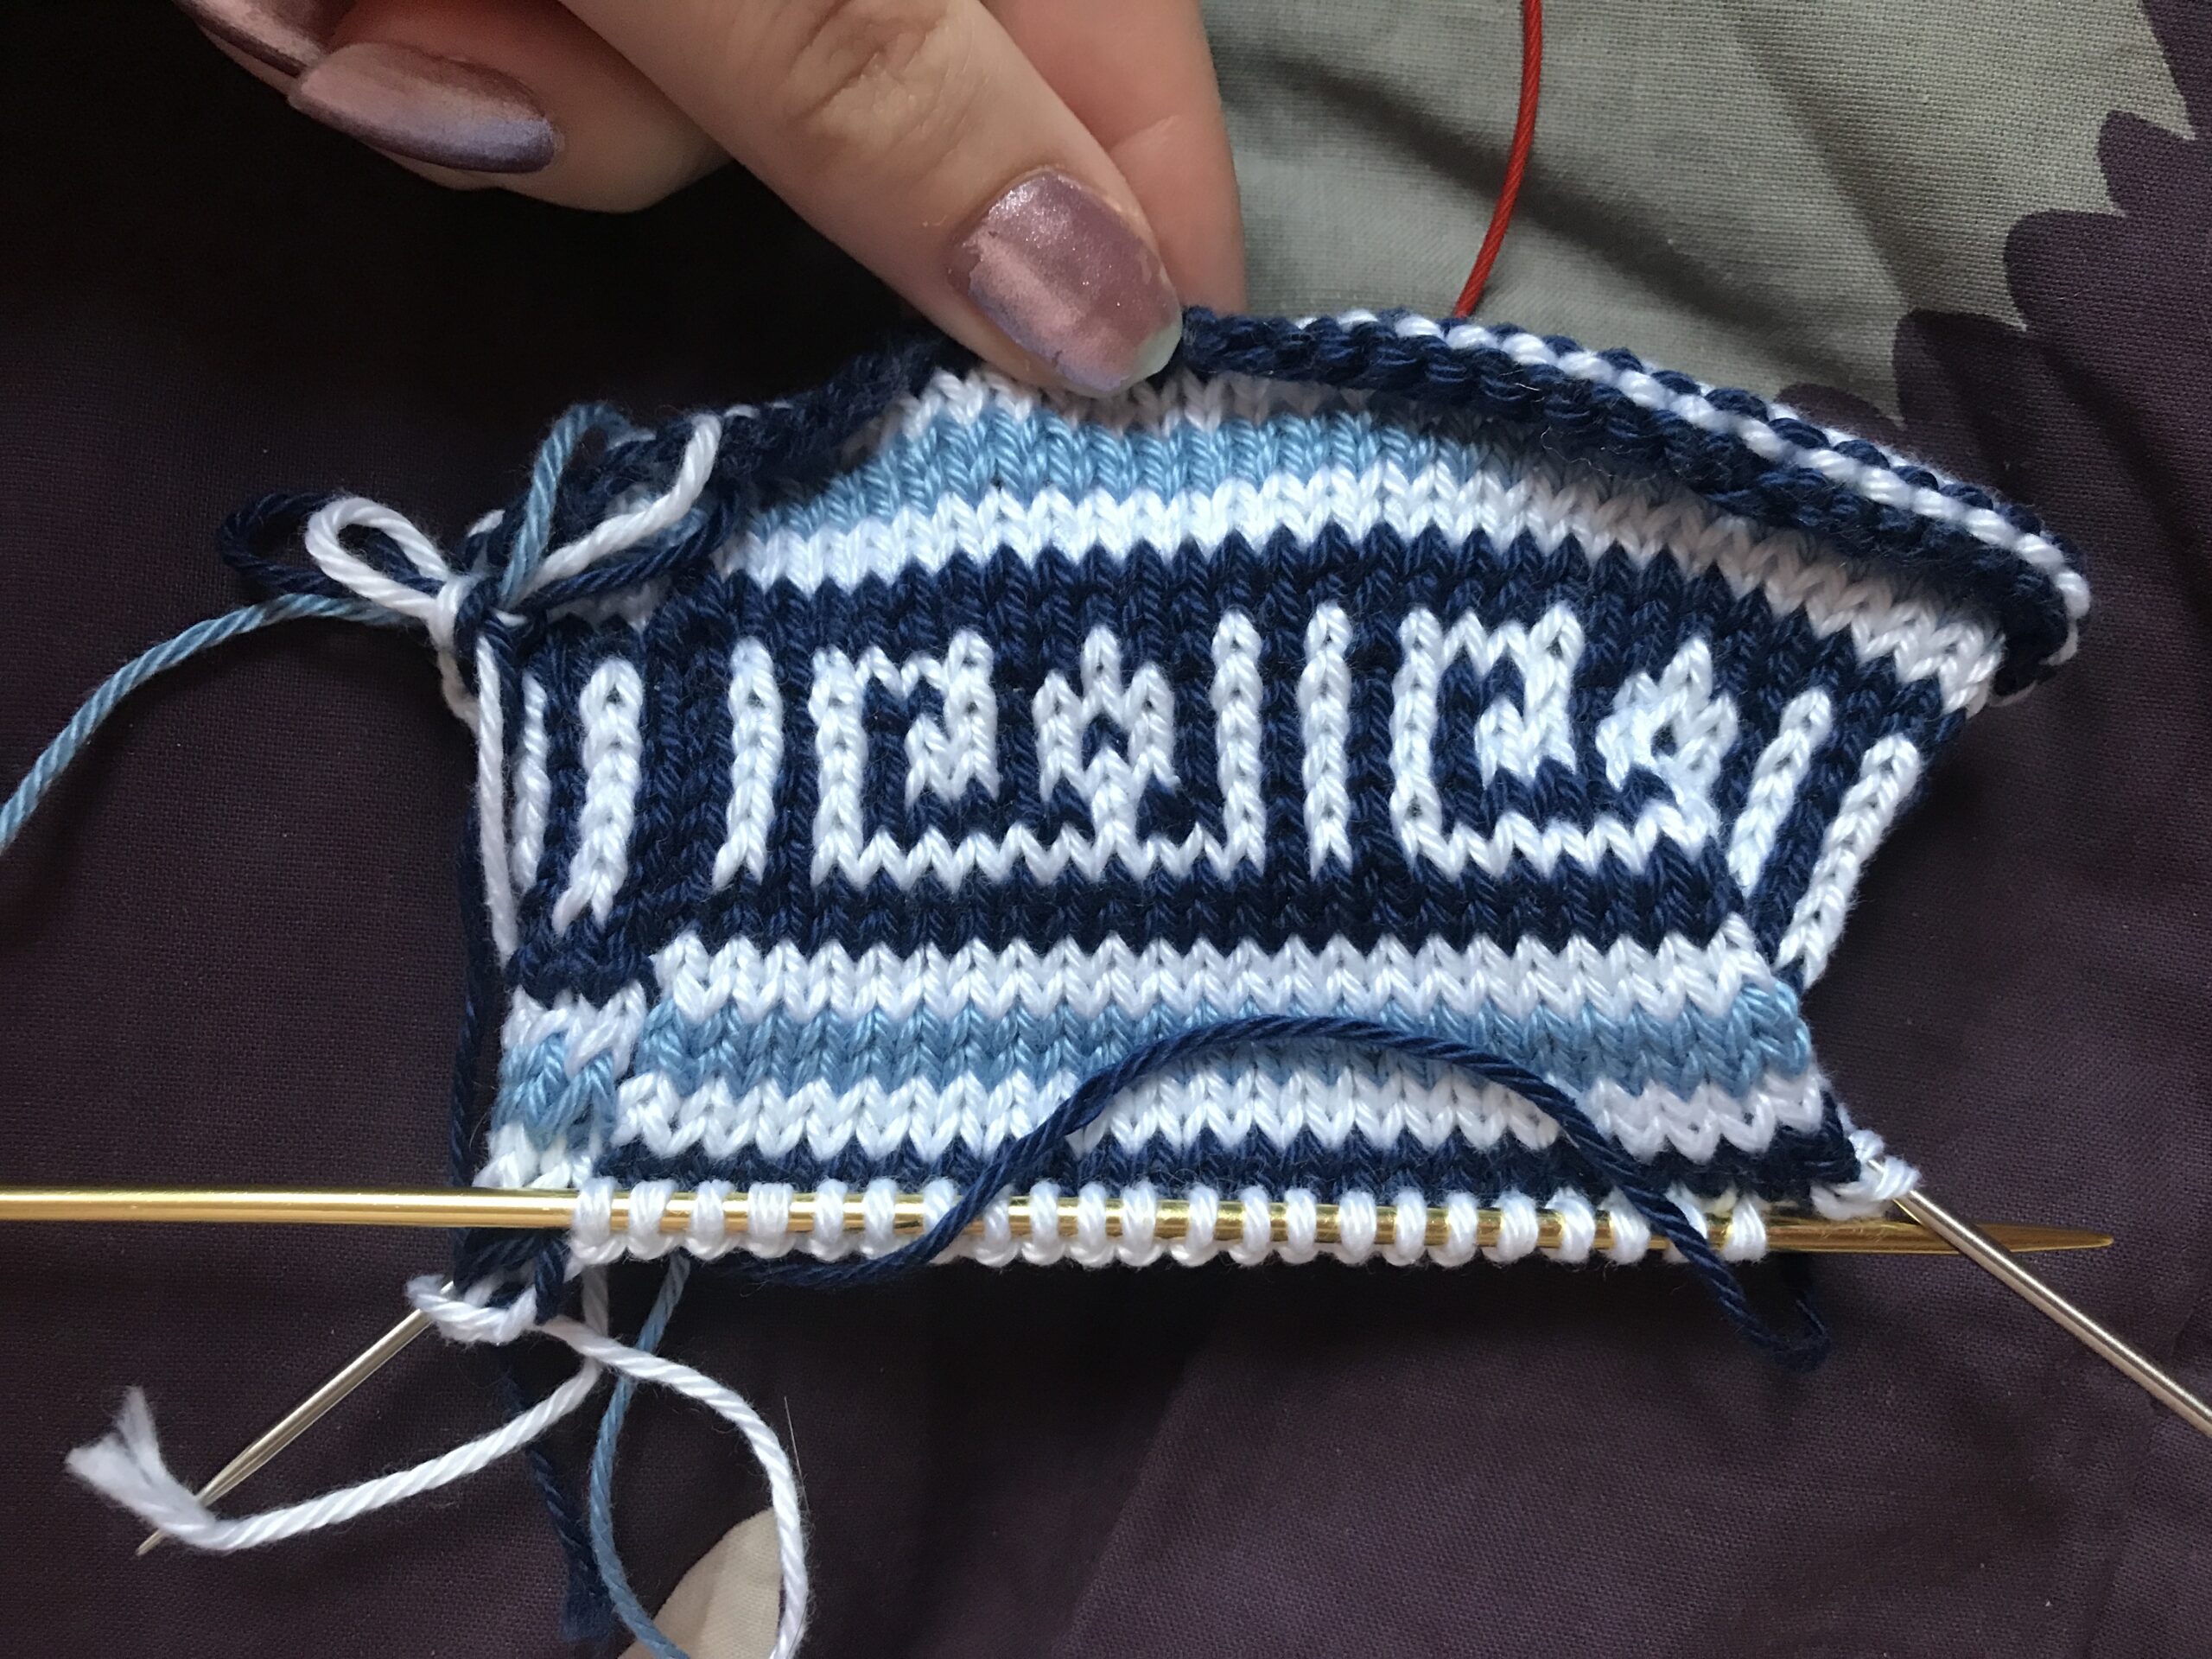
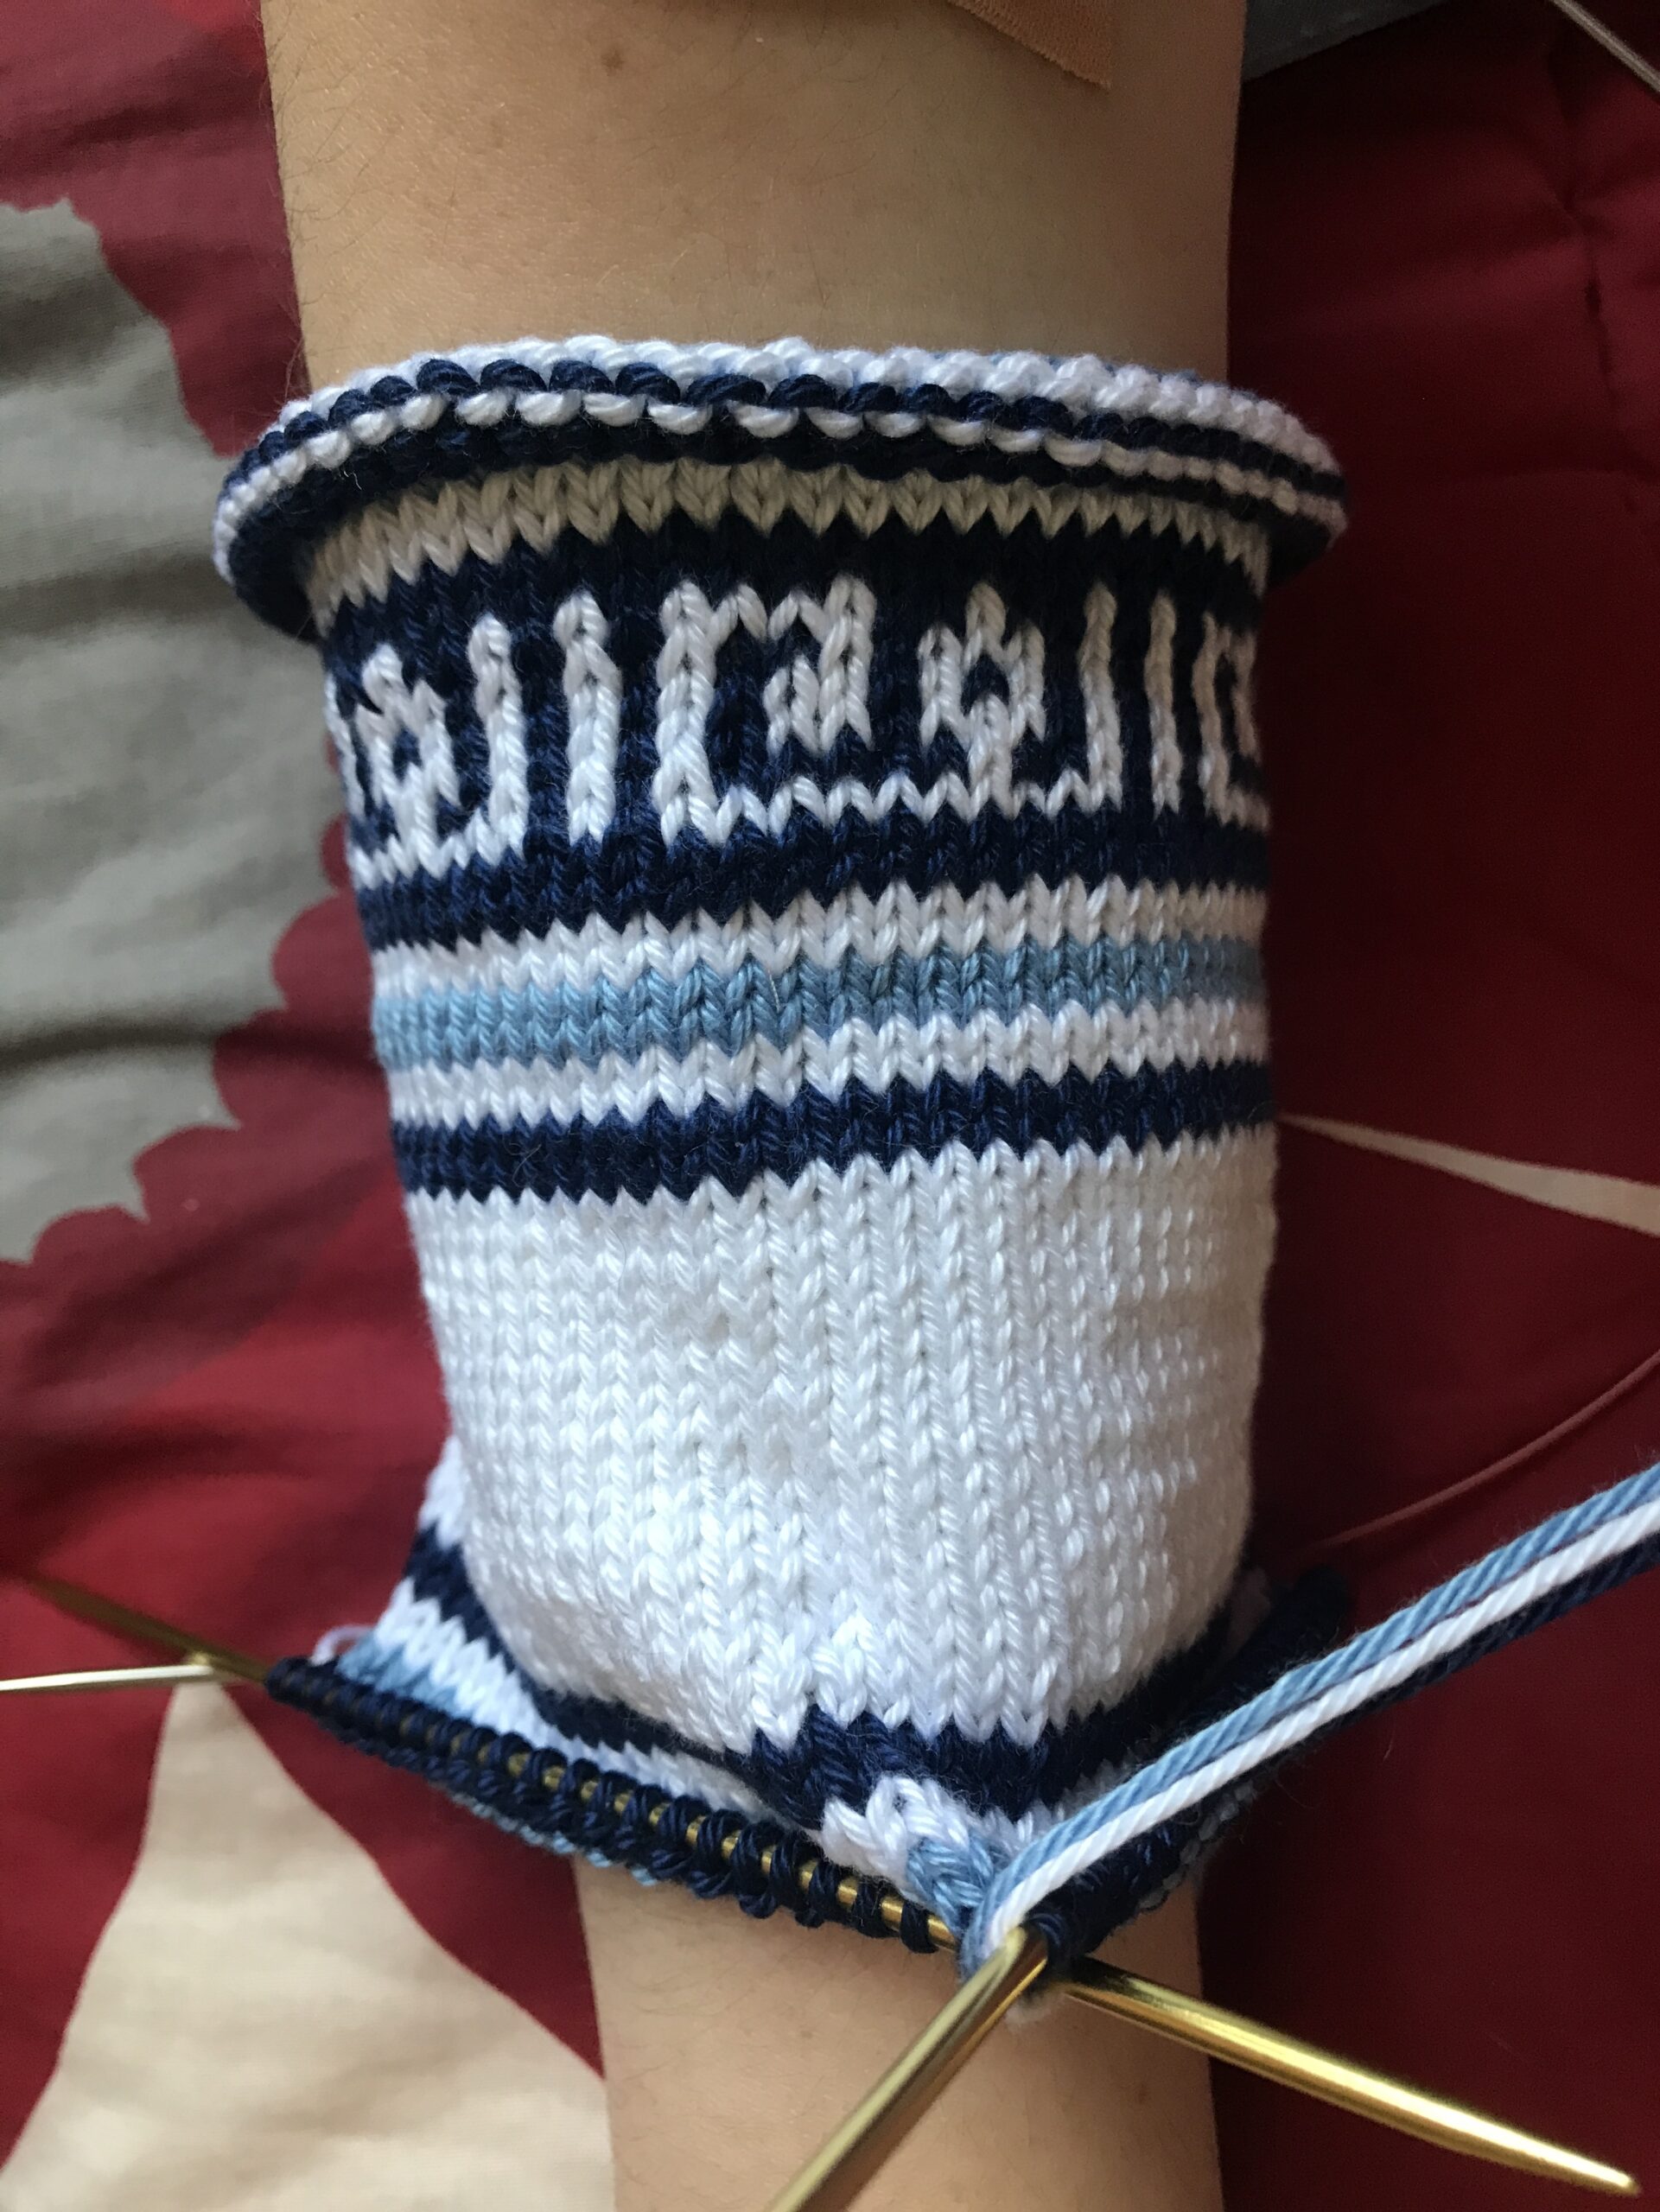
As I continued on, knitting stripes and a second section of text, two things seemed apparent to me. One, I was not going to finish this by the deadline. Two, which is a partial reason for reconstruction, it looked like this sock was going to be huge. While I had wanted to make it large so that it would fit up my calf, I hadn’t quite prepared for how big that meant it would be all the way around. To be sure that this wasn’t merely an issue of not having spandex in the yarn, as is common in industrially produced socks, I compared my recreation-in-progress to a sock I knit a few years ago. Admittedly, the all-white sock does not go as high up the leg as the Egyptian sock would, so it didn’t need to be as wide, and there is an openwork panel that stretches out a bit when worn. Still, the difference in size is striking.
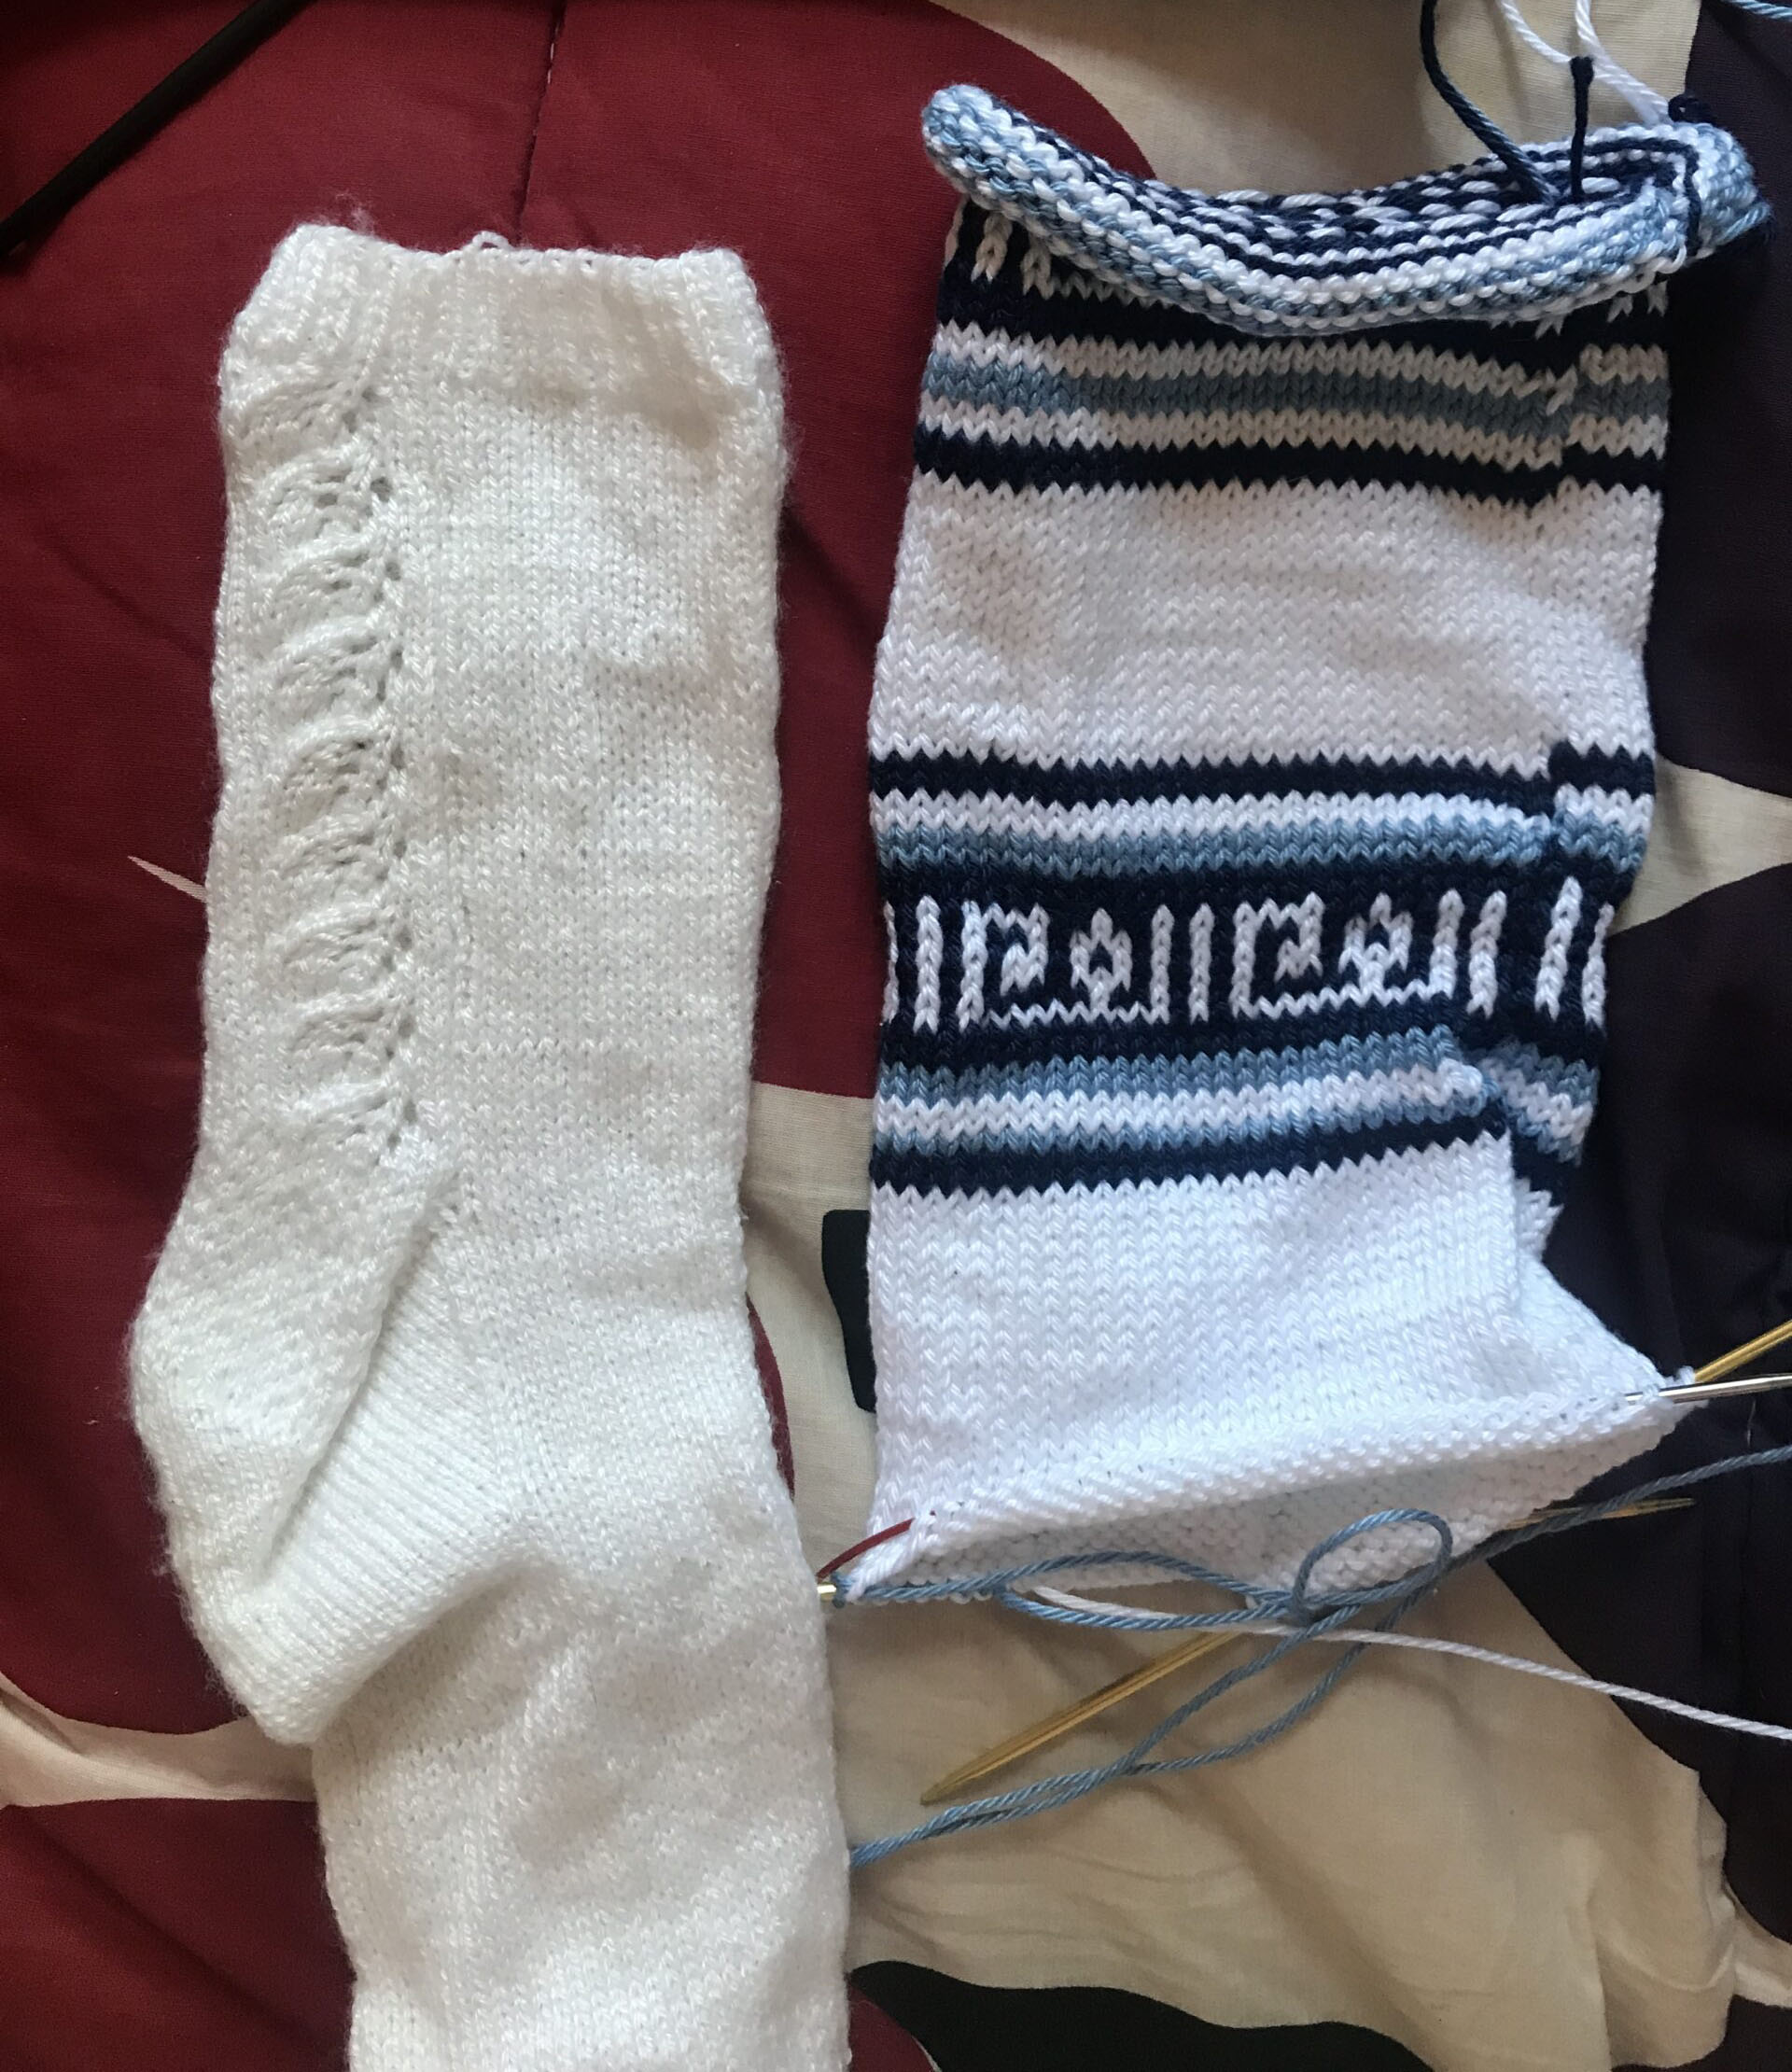
Since a large chunk of the reasoning for doing a recreation was that I wanted to better understand how the heel was constructed, I decided to start the heel early, in the midst of a seemingly interminable section of all white. Perhaps there was some influence of boredom, for the same reason that I have never knit a sweater with large sections of plain stockinette all the way around. Having mentally consigned this project to be ripped out in its entirety, I began the heel.
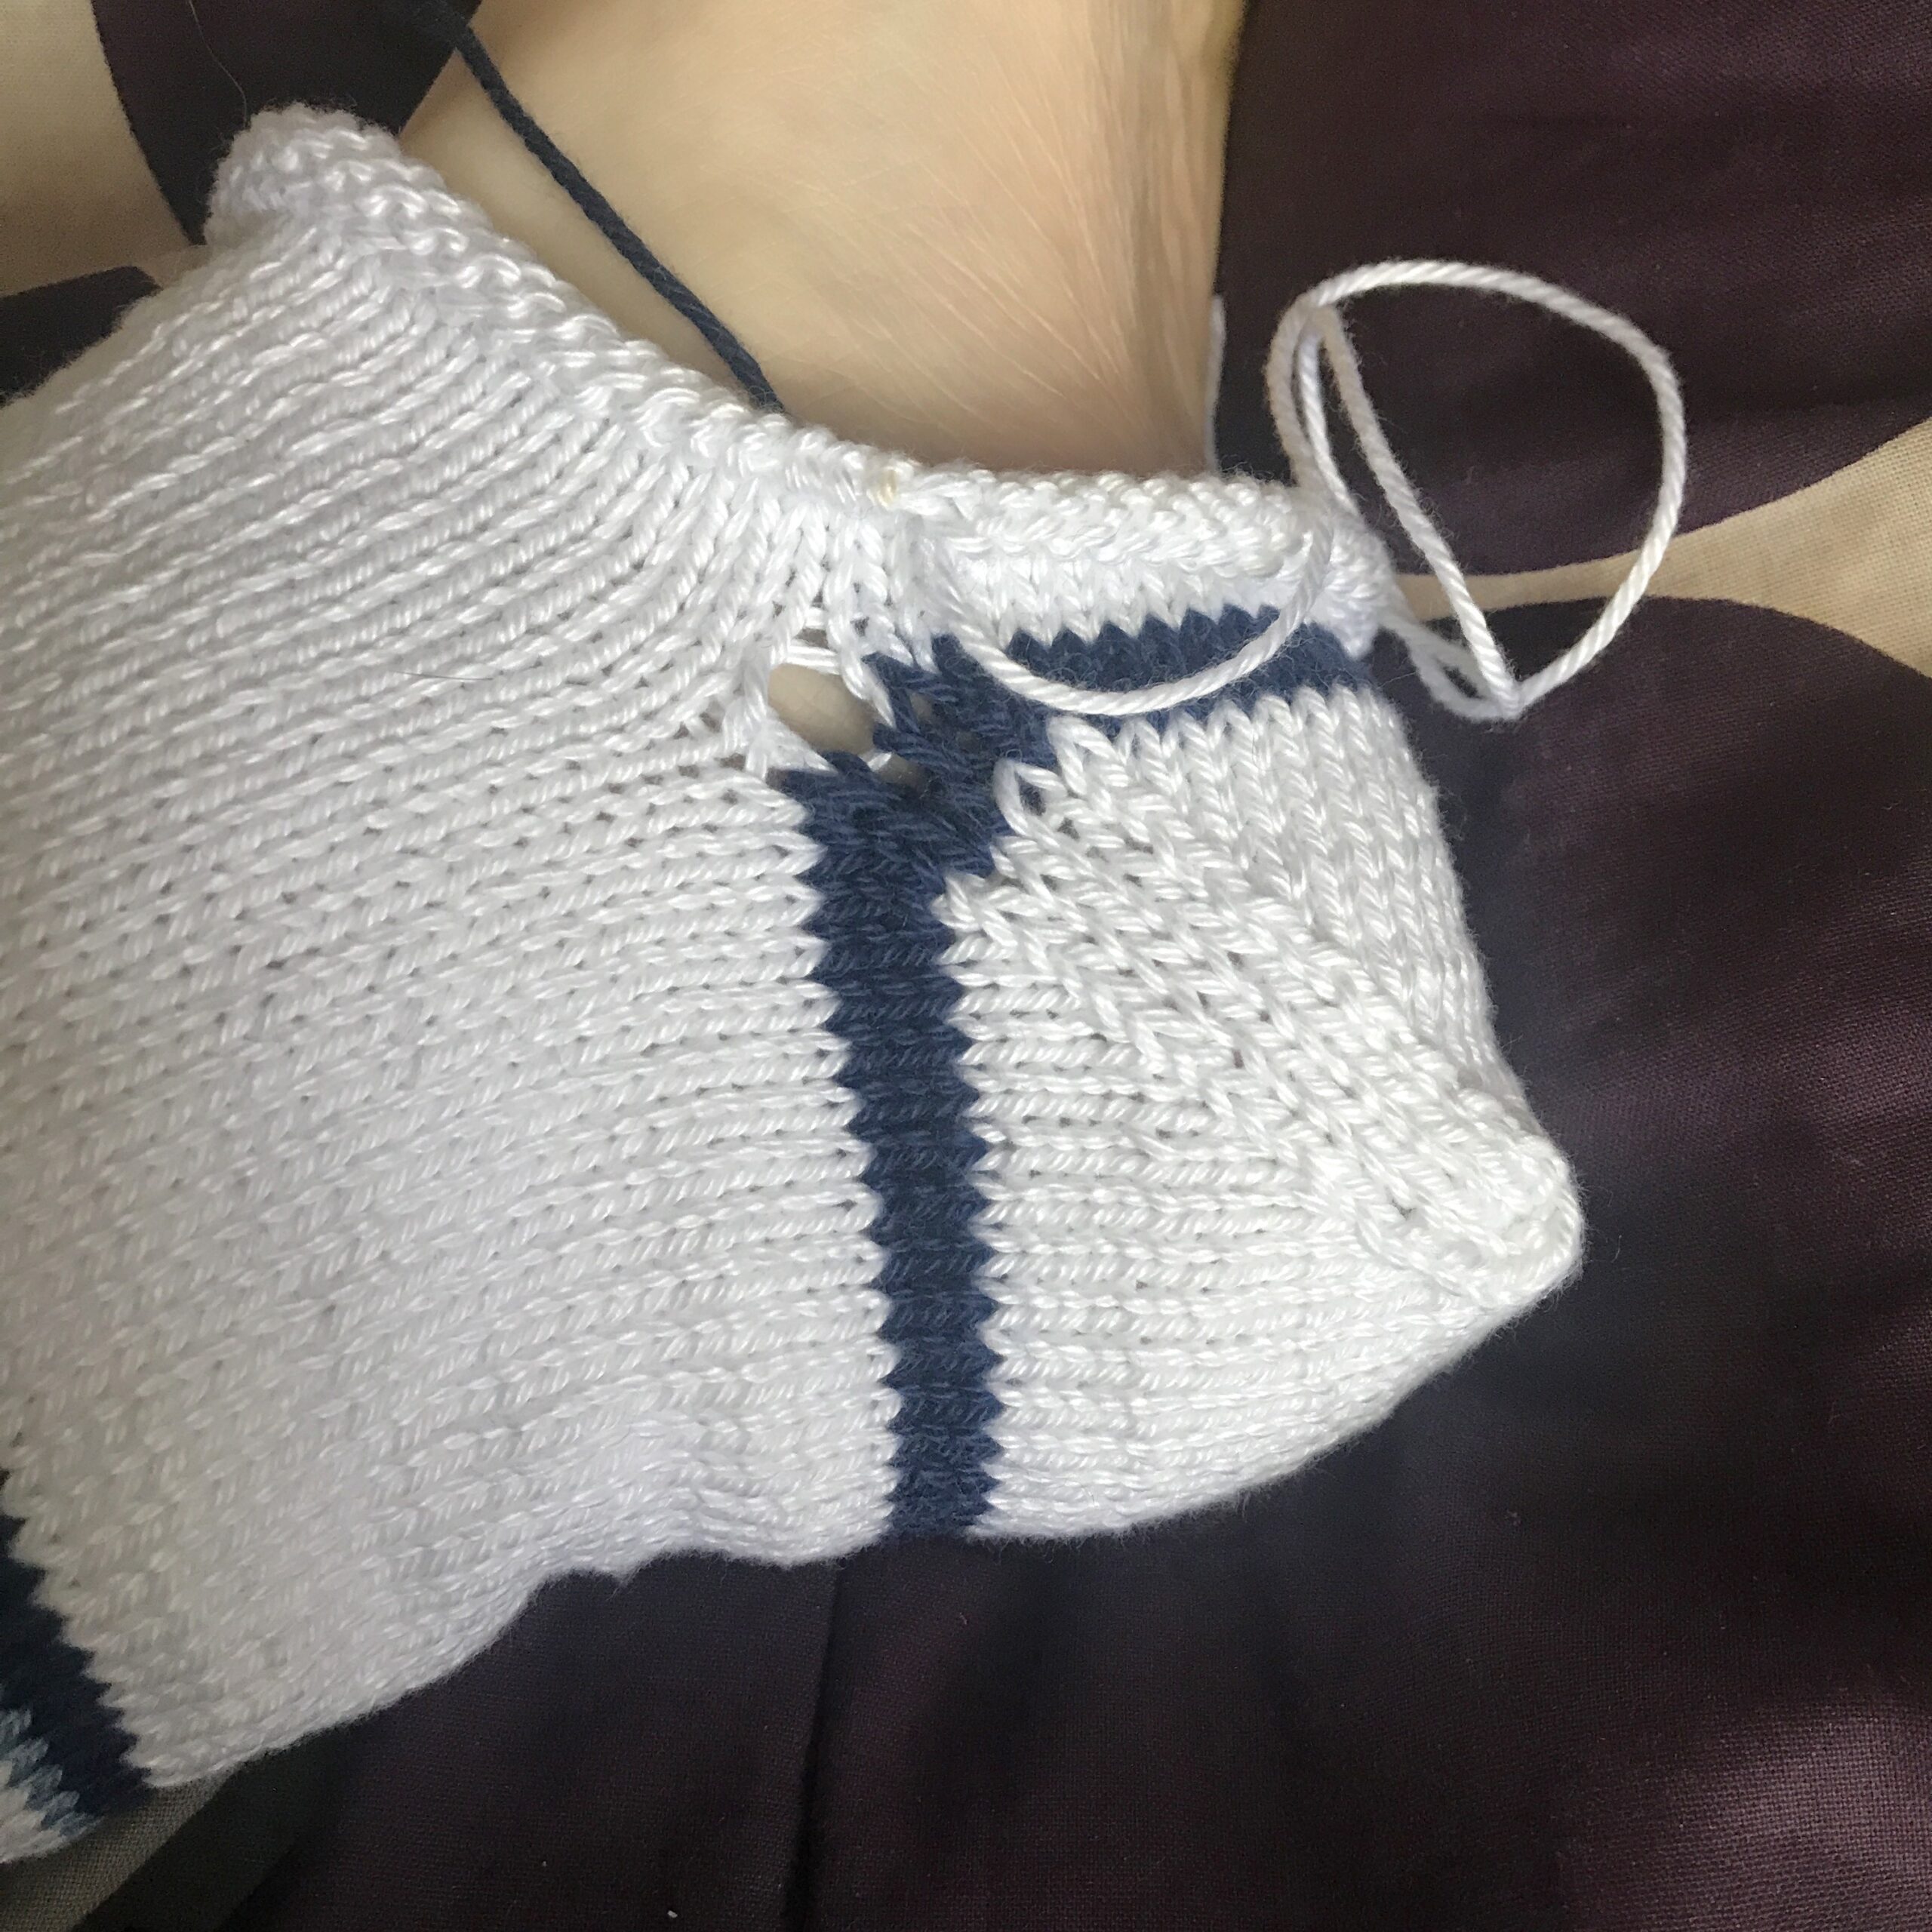
To begin an “Afterthought” heel, you simply knit a waste yarn along half of the row where you want to put the heel. (A waste yarn is a length of yarn that is not currently being used in the part of the sock you are working on or connected to it.) In the original sock, it appears that the left edge of the heel is located directly to the left of the beginning of the round. I, somehow, reversed this in my head and so placed the heel to the right of the beginning of the round and did not realize it for several rows. I also realized in counting out 34 stitches to make the heel that I had somehow gotten up to 68 stitches when I wasn’t watching. Not a major issue.
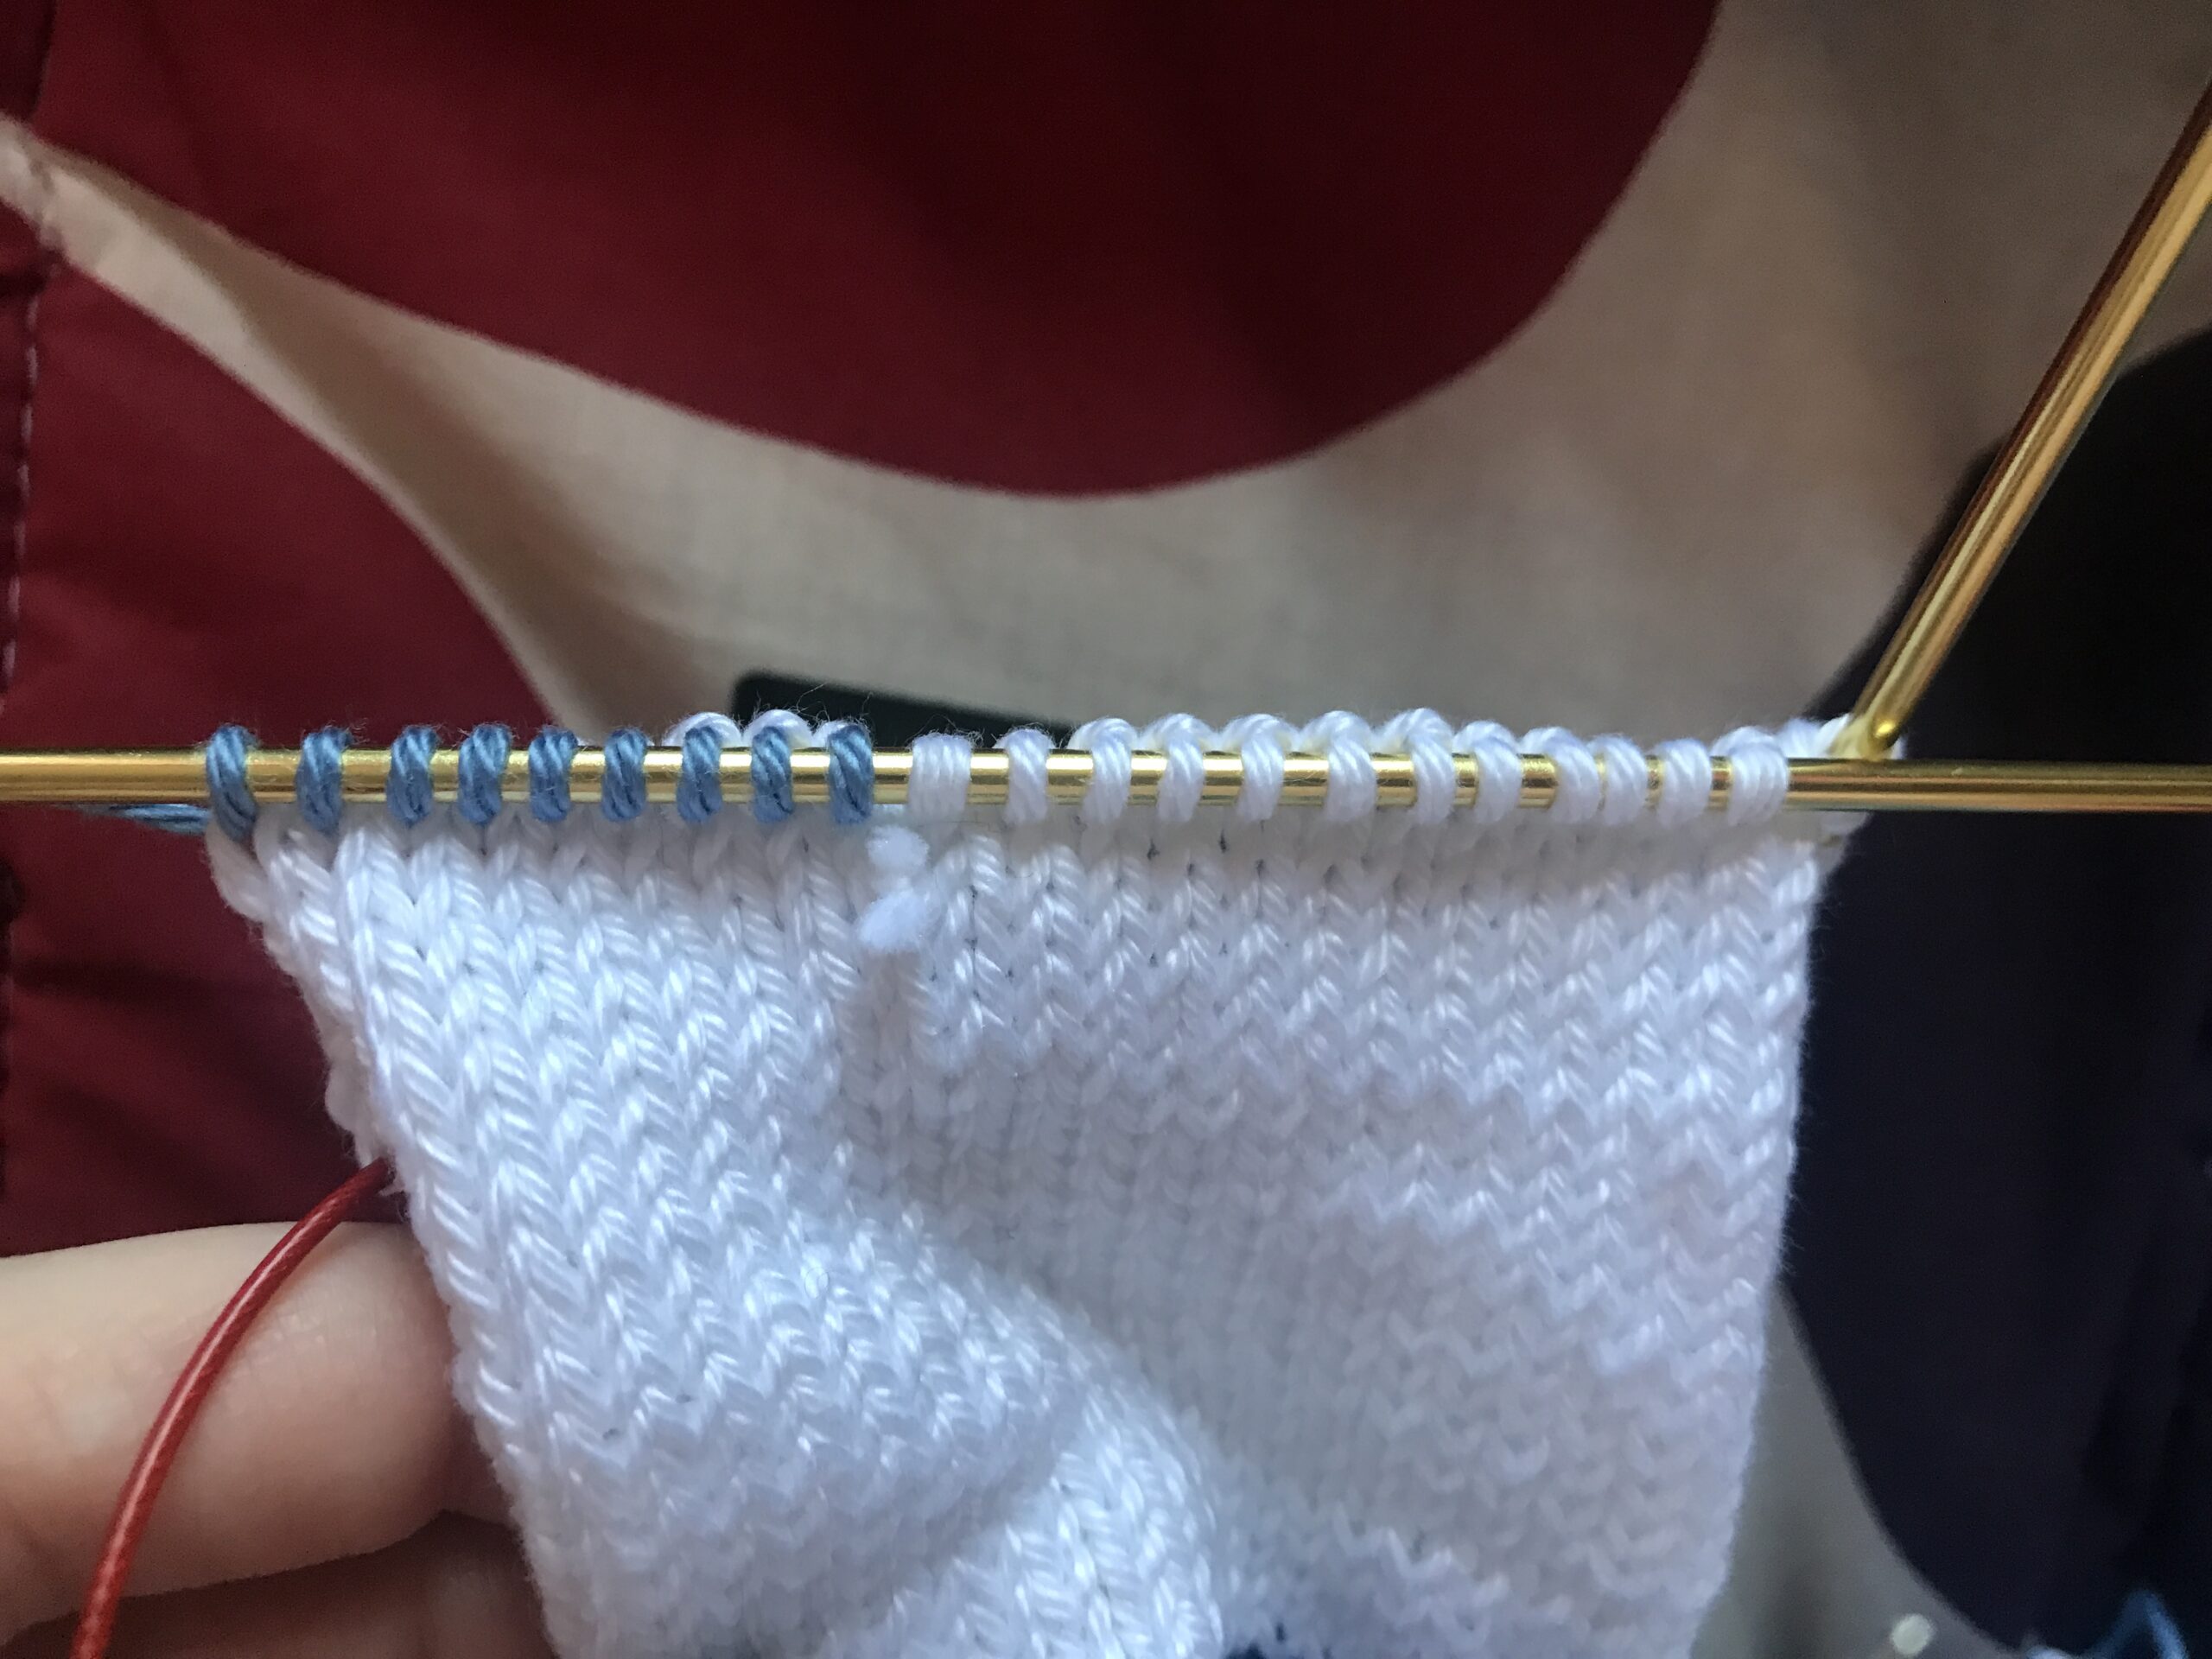
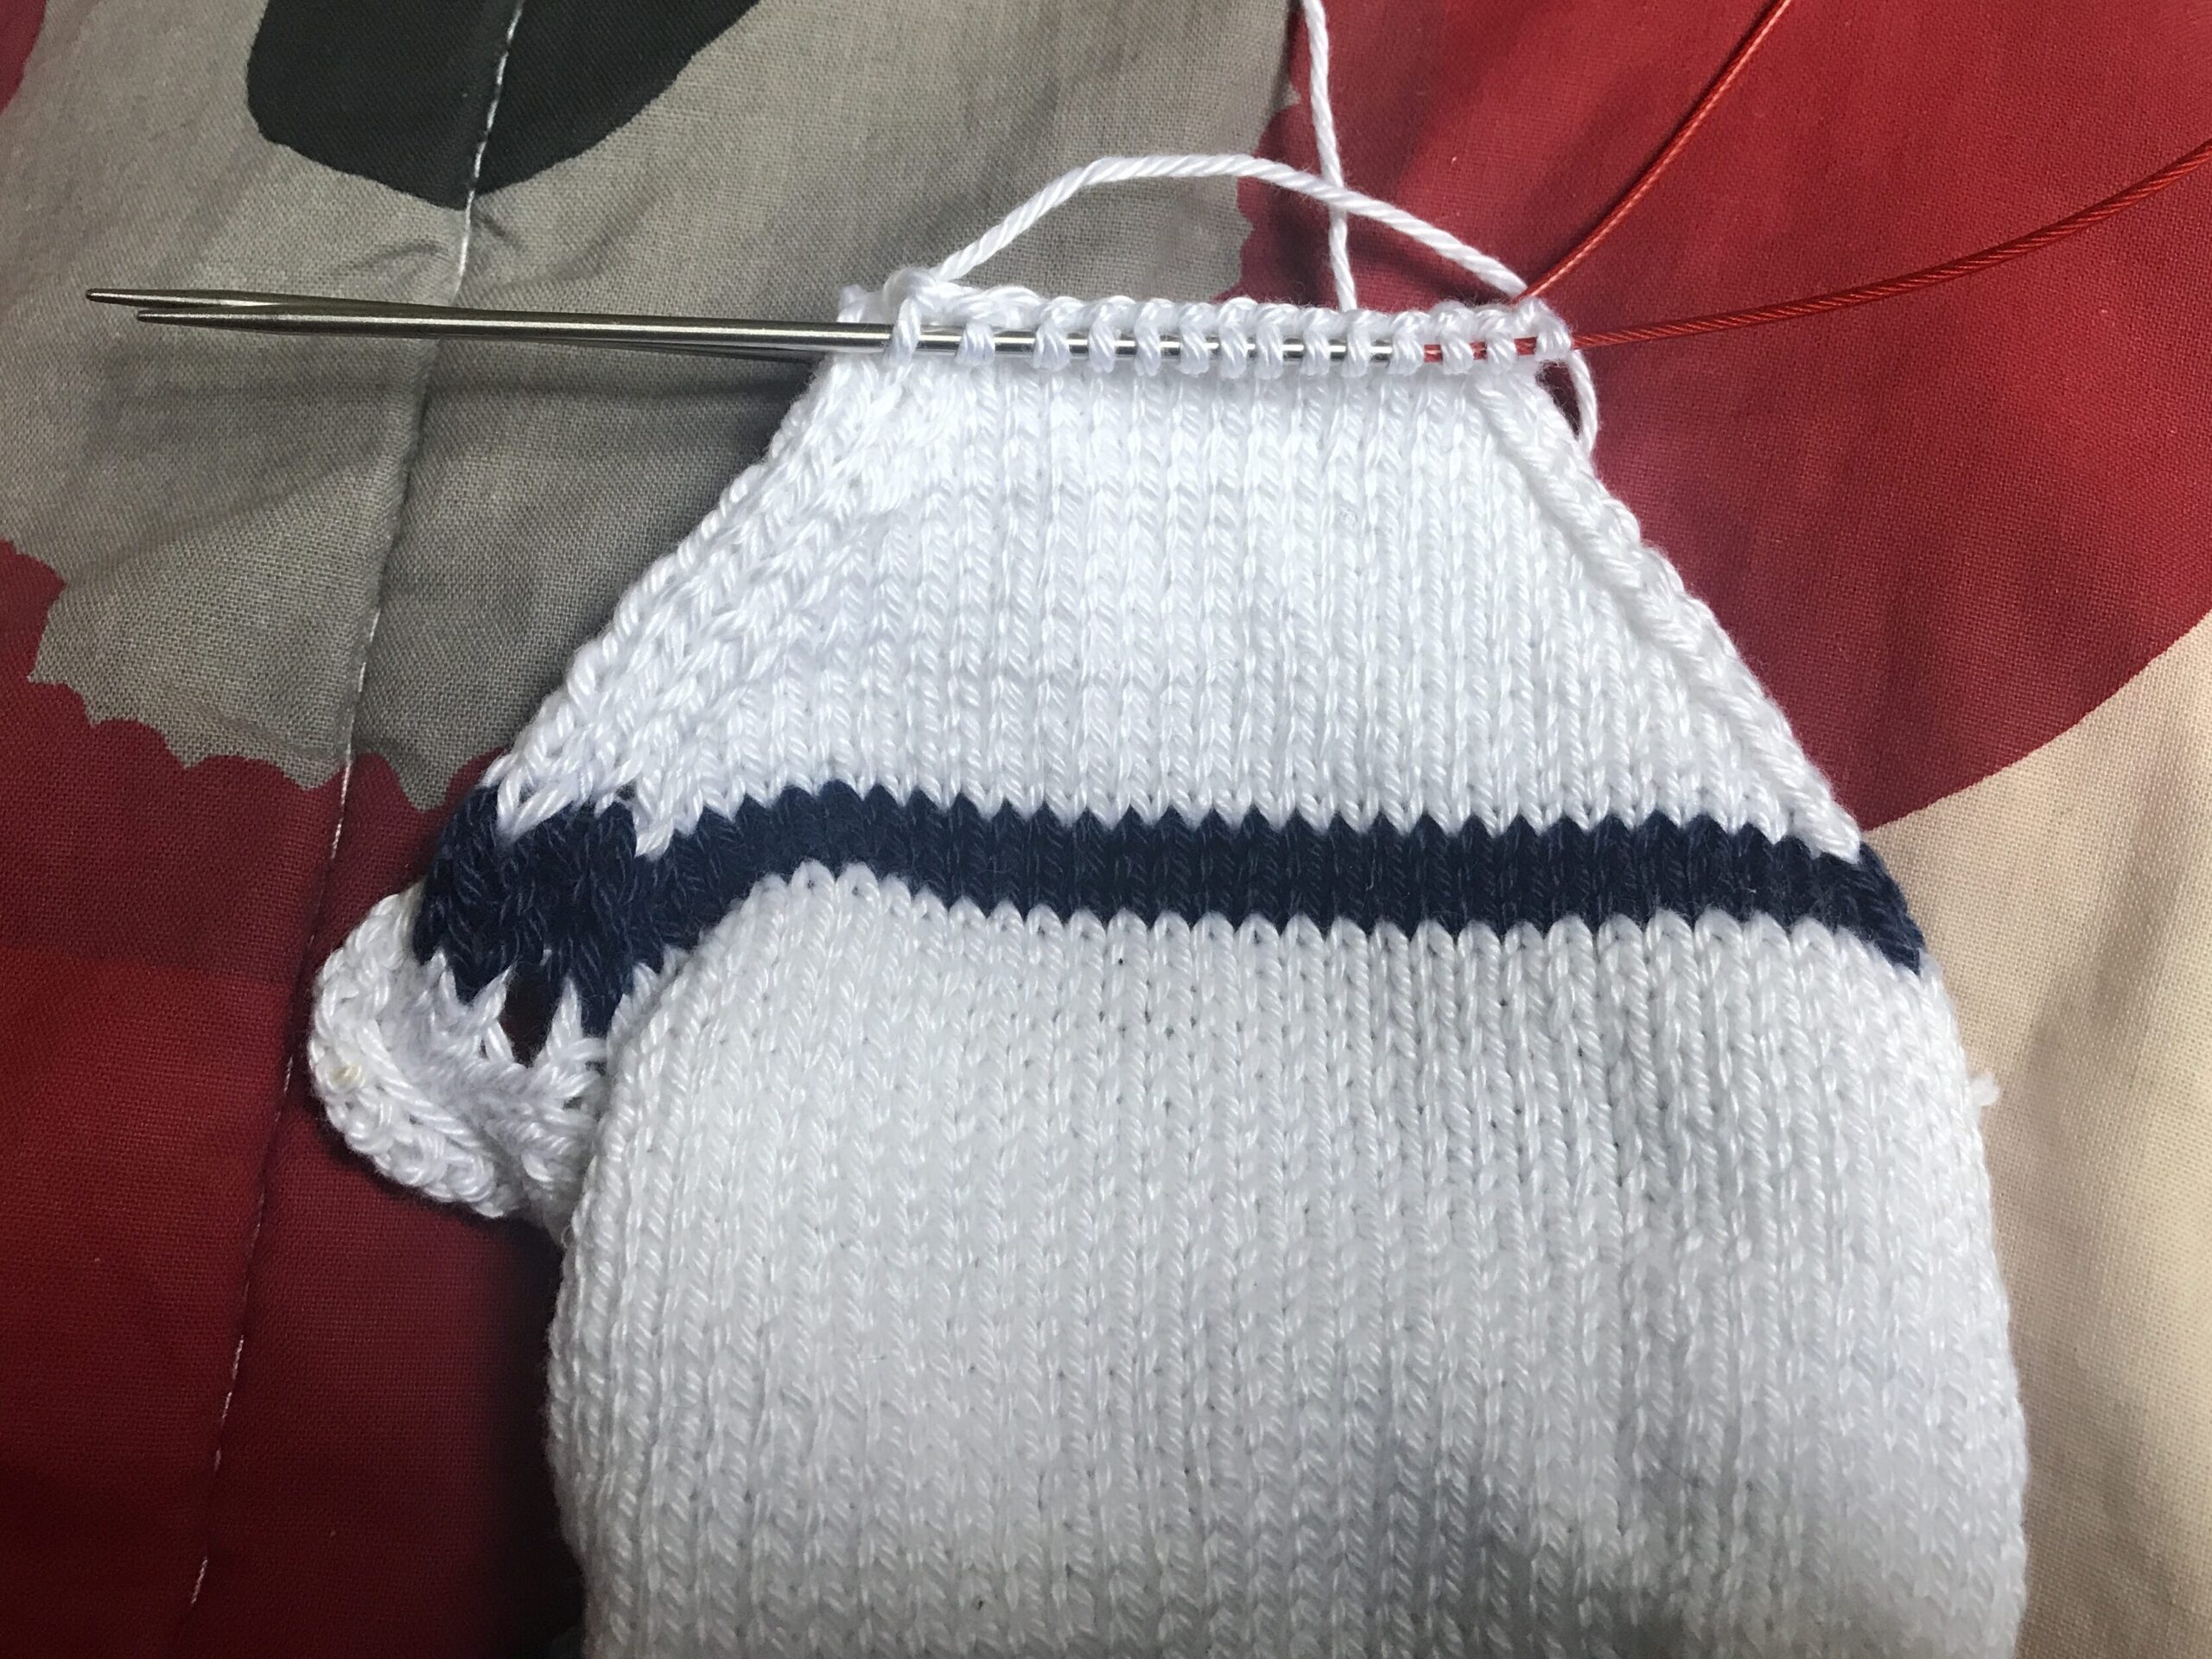
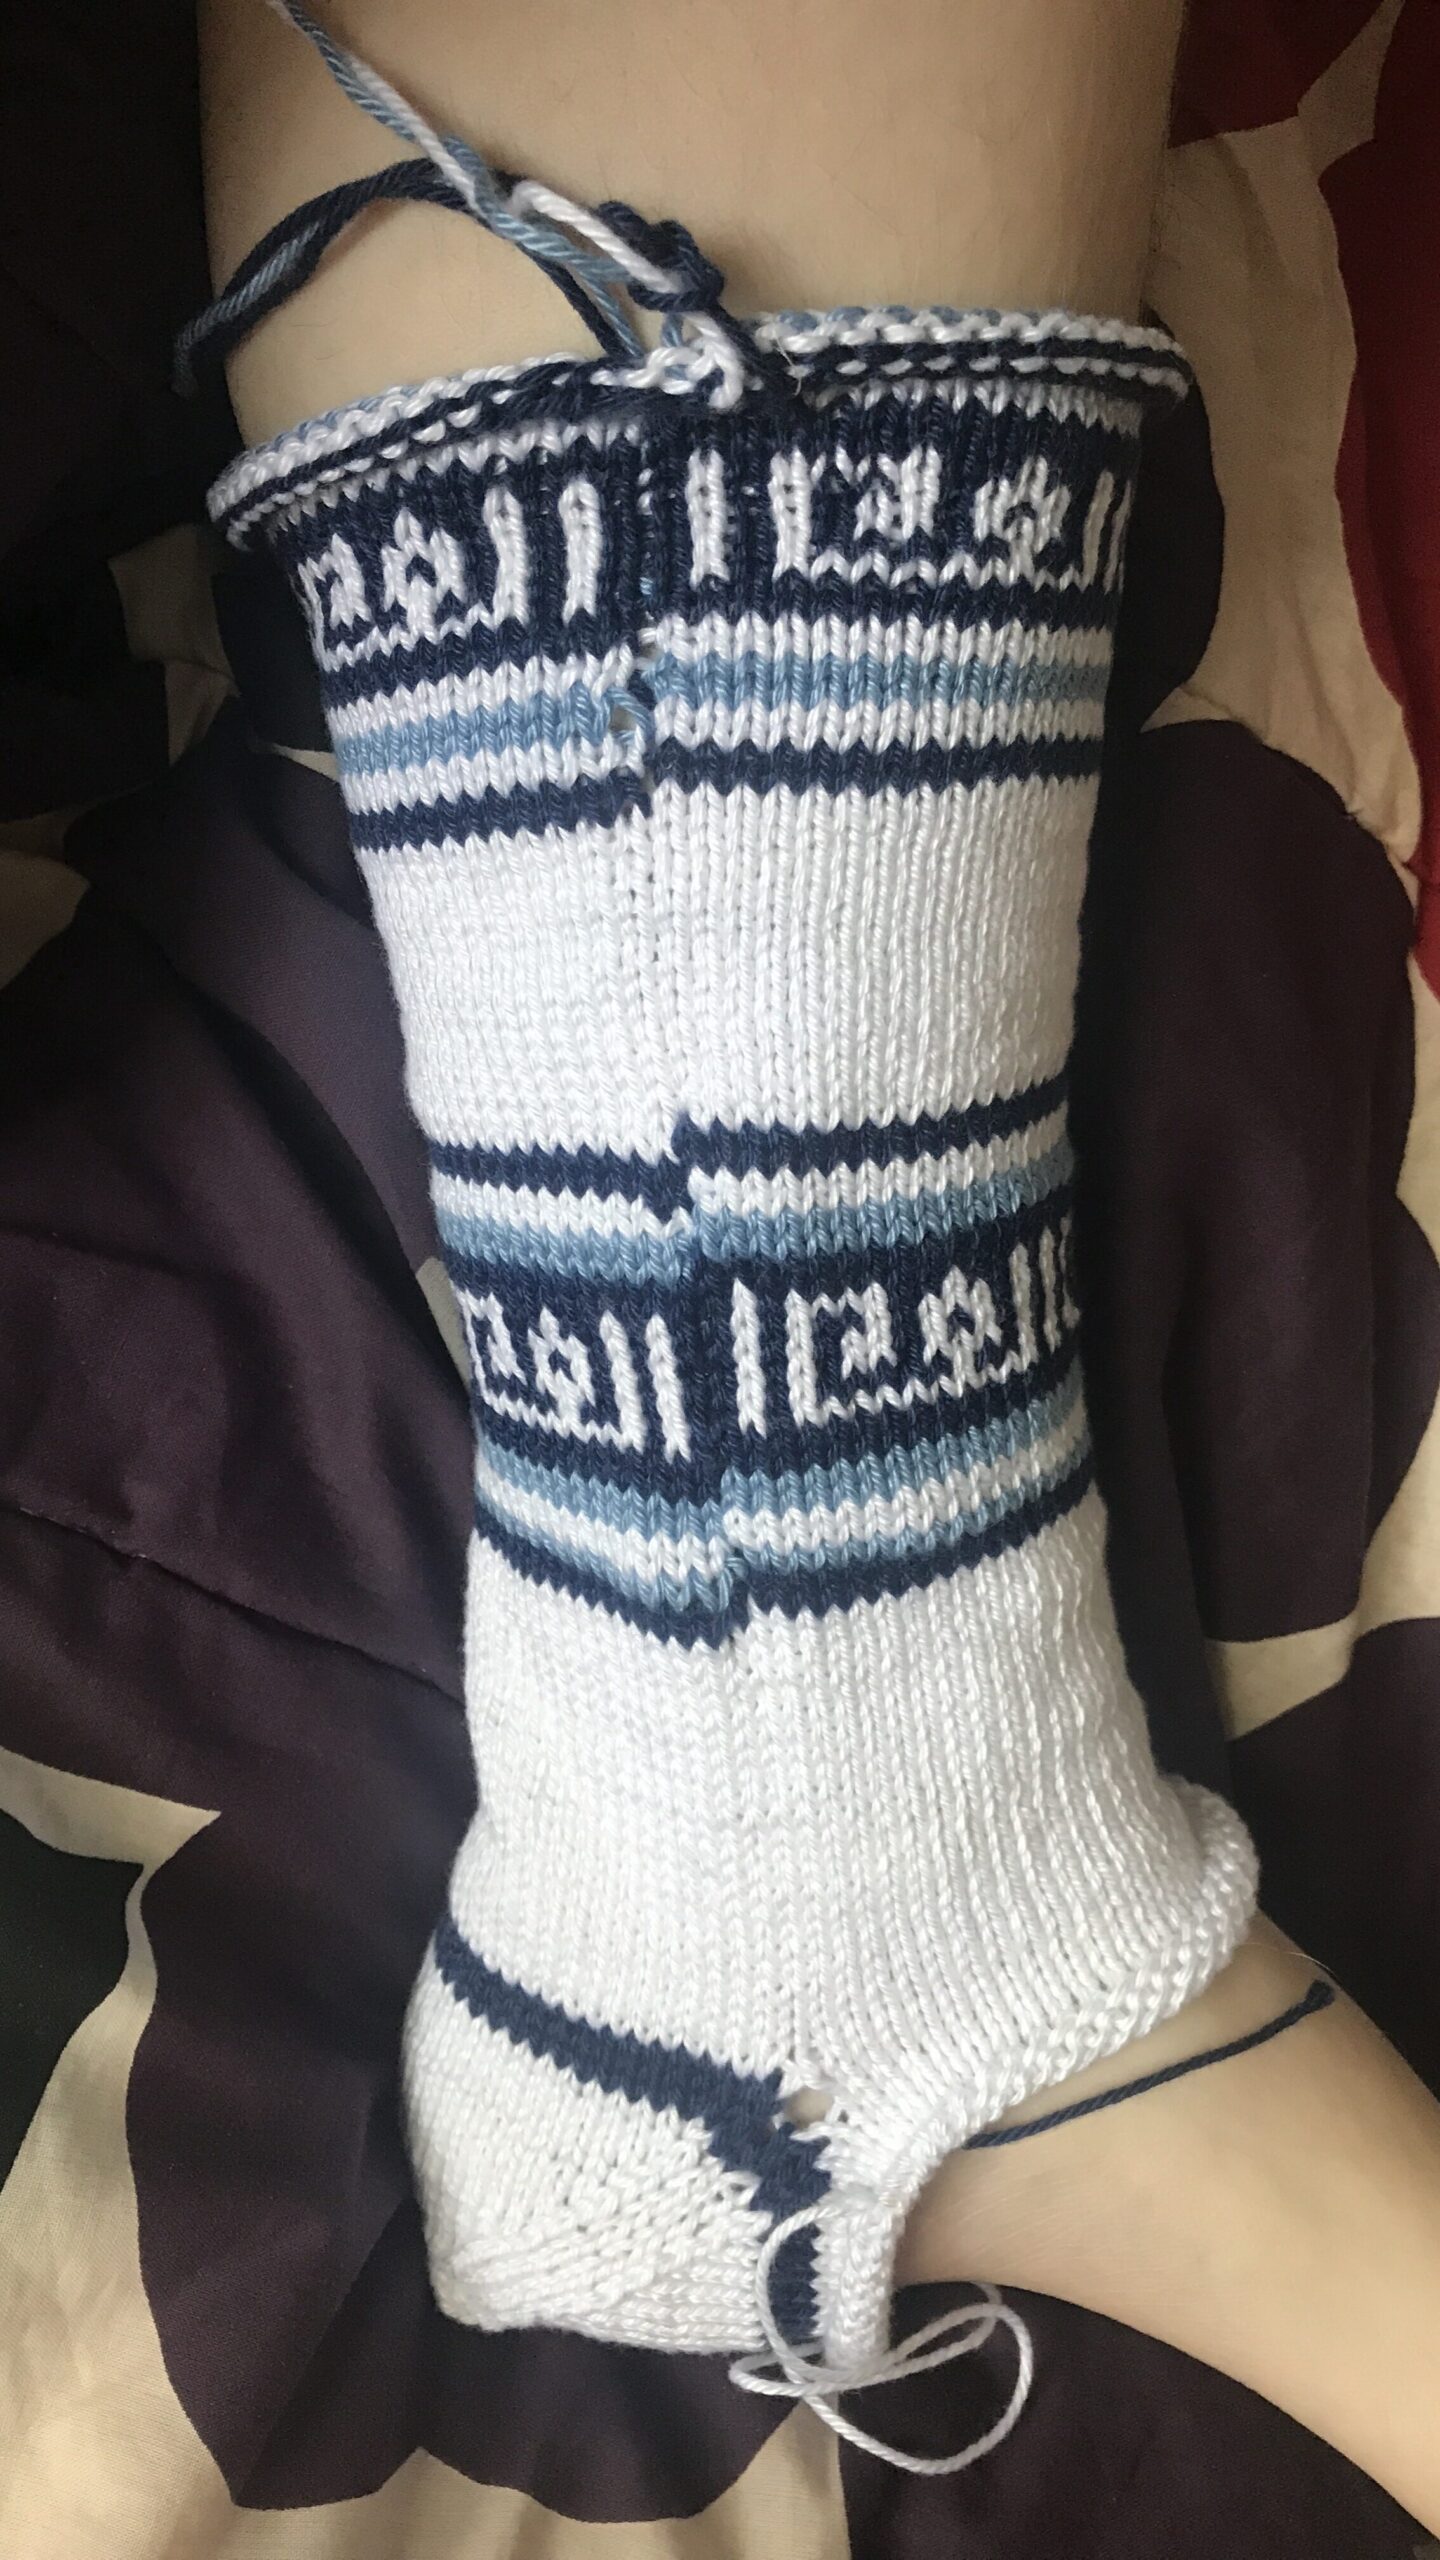
With the heel complete, the tube I had been knitting started to look much more like a sock. Typically with this kind of heel, you would keep knitting the whole sock as a tube and then come back to do the heel at the very end–hence the name “Afterthought.” Amazingly, despite my earlier concern about the size of the sock, it actually fit well. If it went further up my leg, as the full pattern would, it might have actually been too small. It doesn’t fit closely around the ankle, but it also doesn’t have that much stretch further up the leg. The yarn I chose turned out to be more stiff than is ideal for socks, contributing to the tight fit and pointy heels.
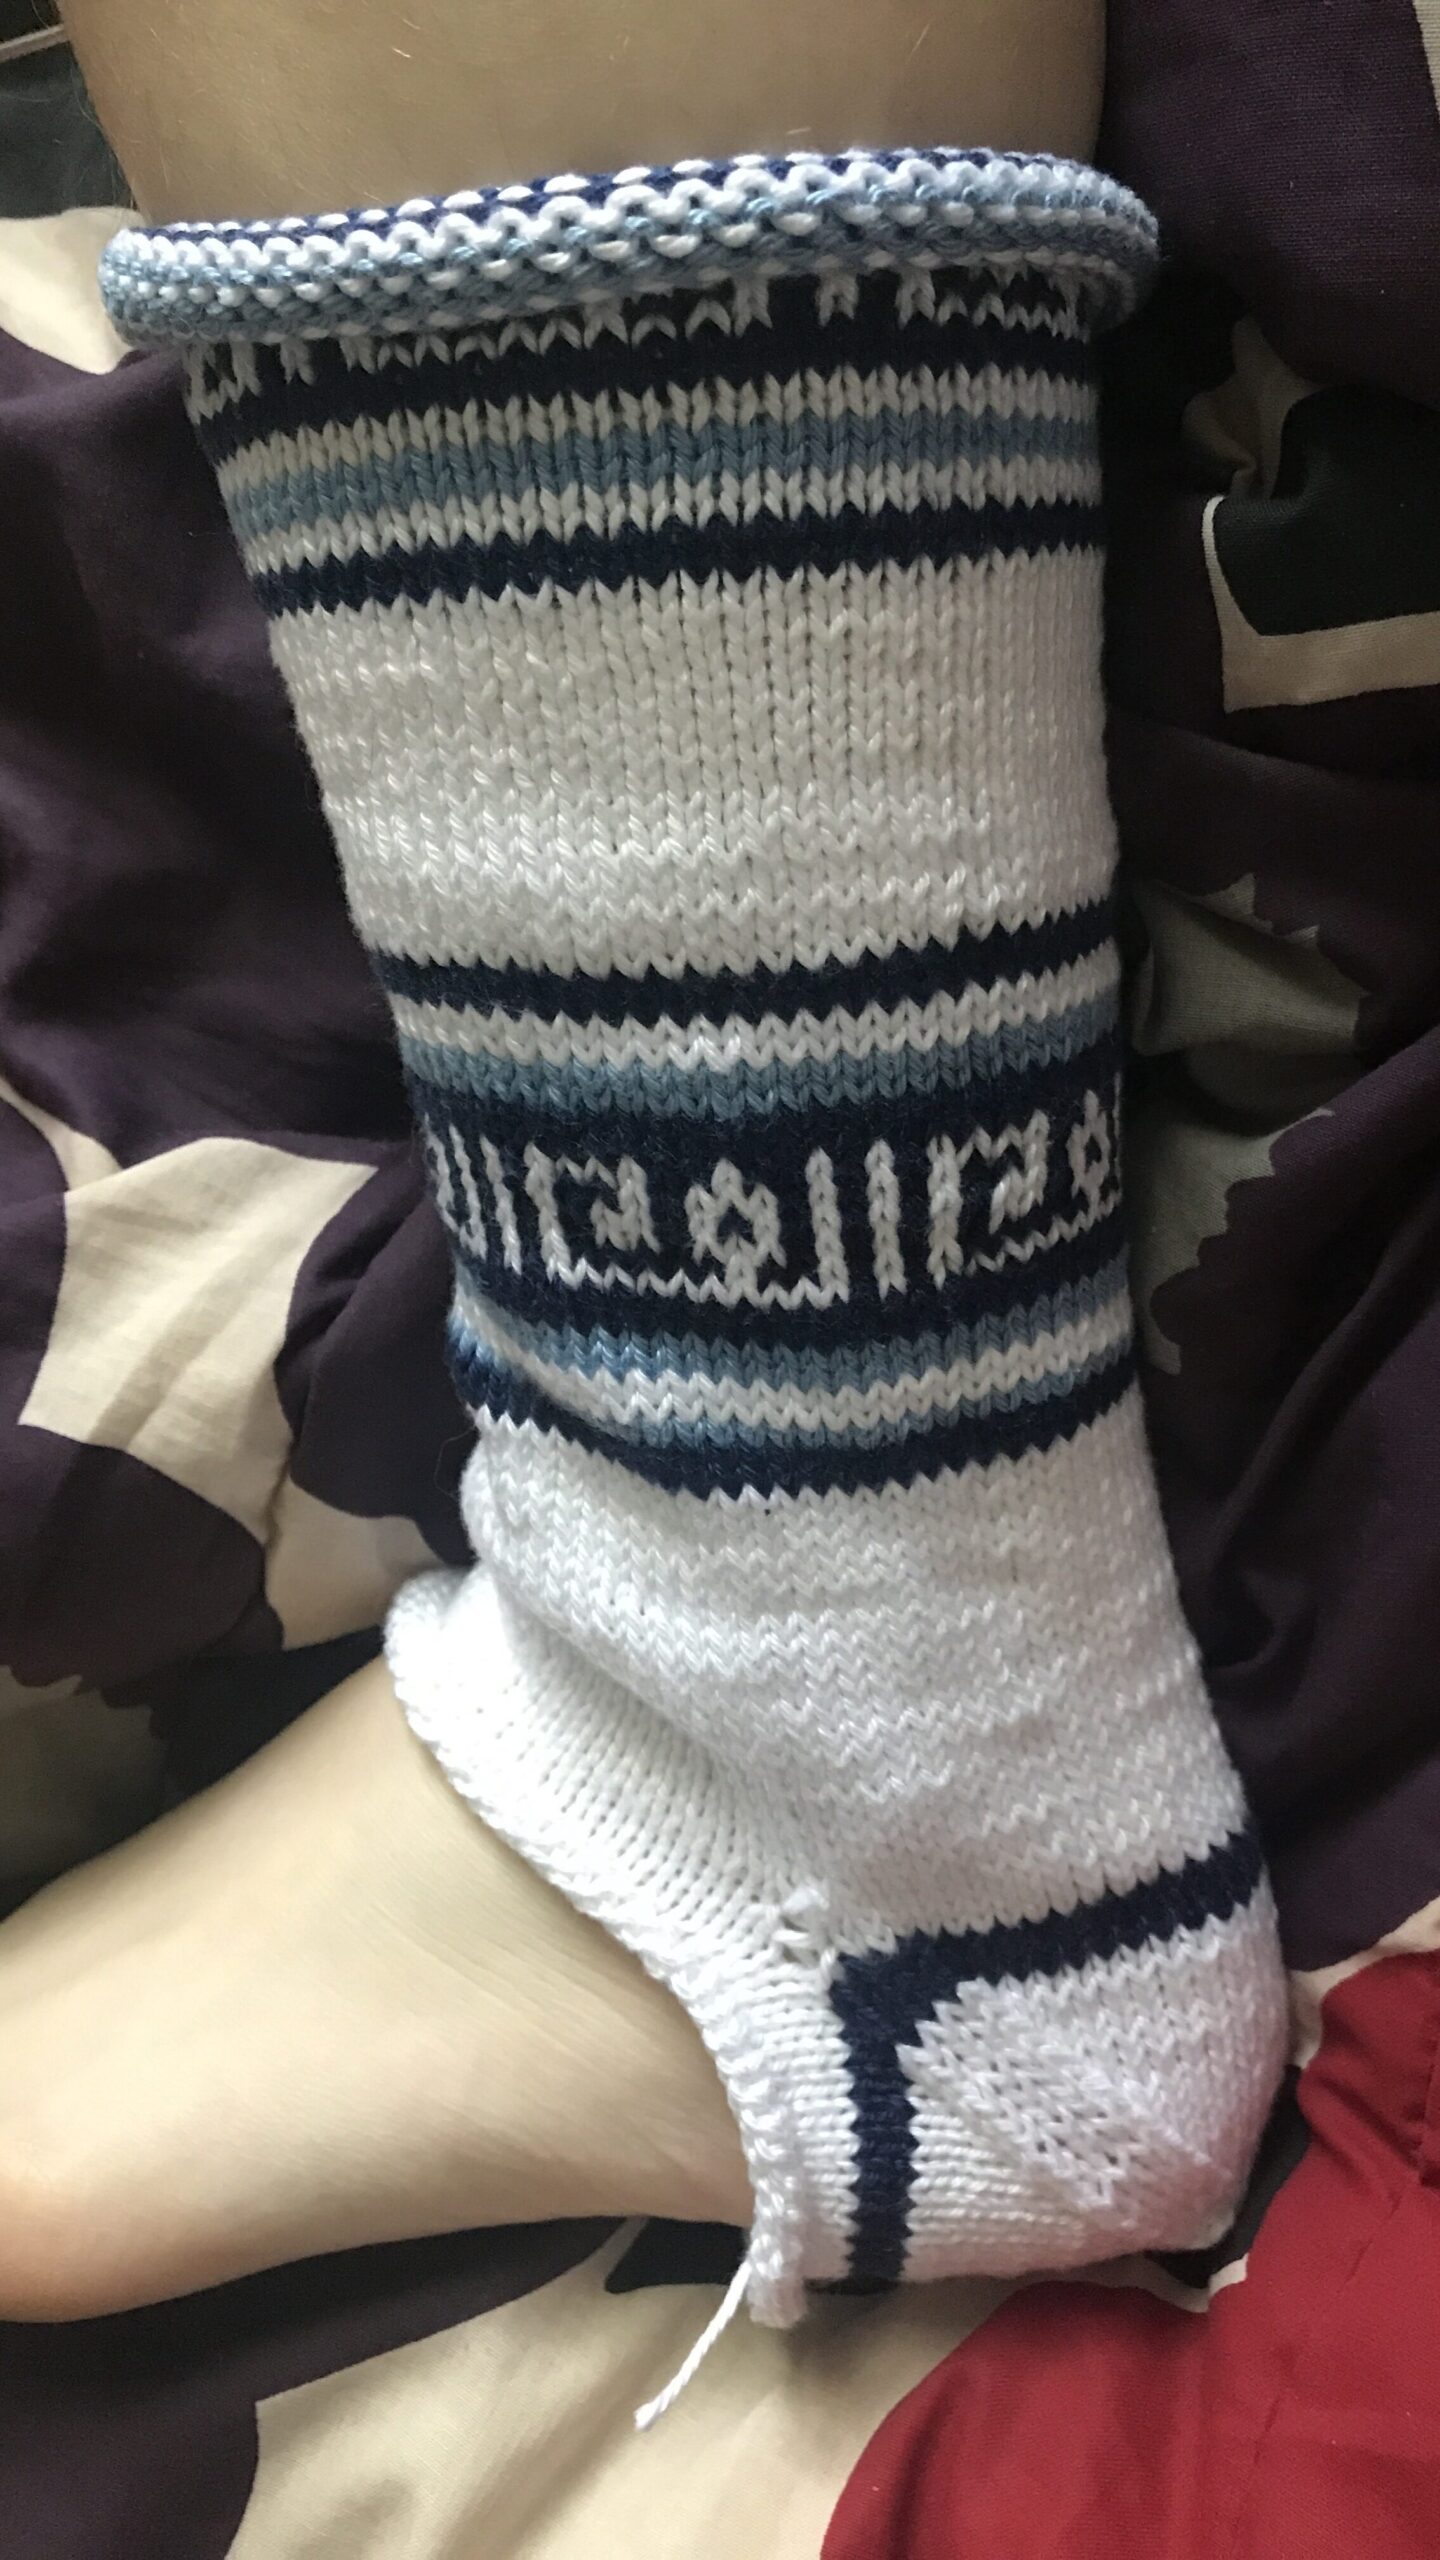
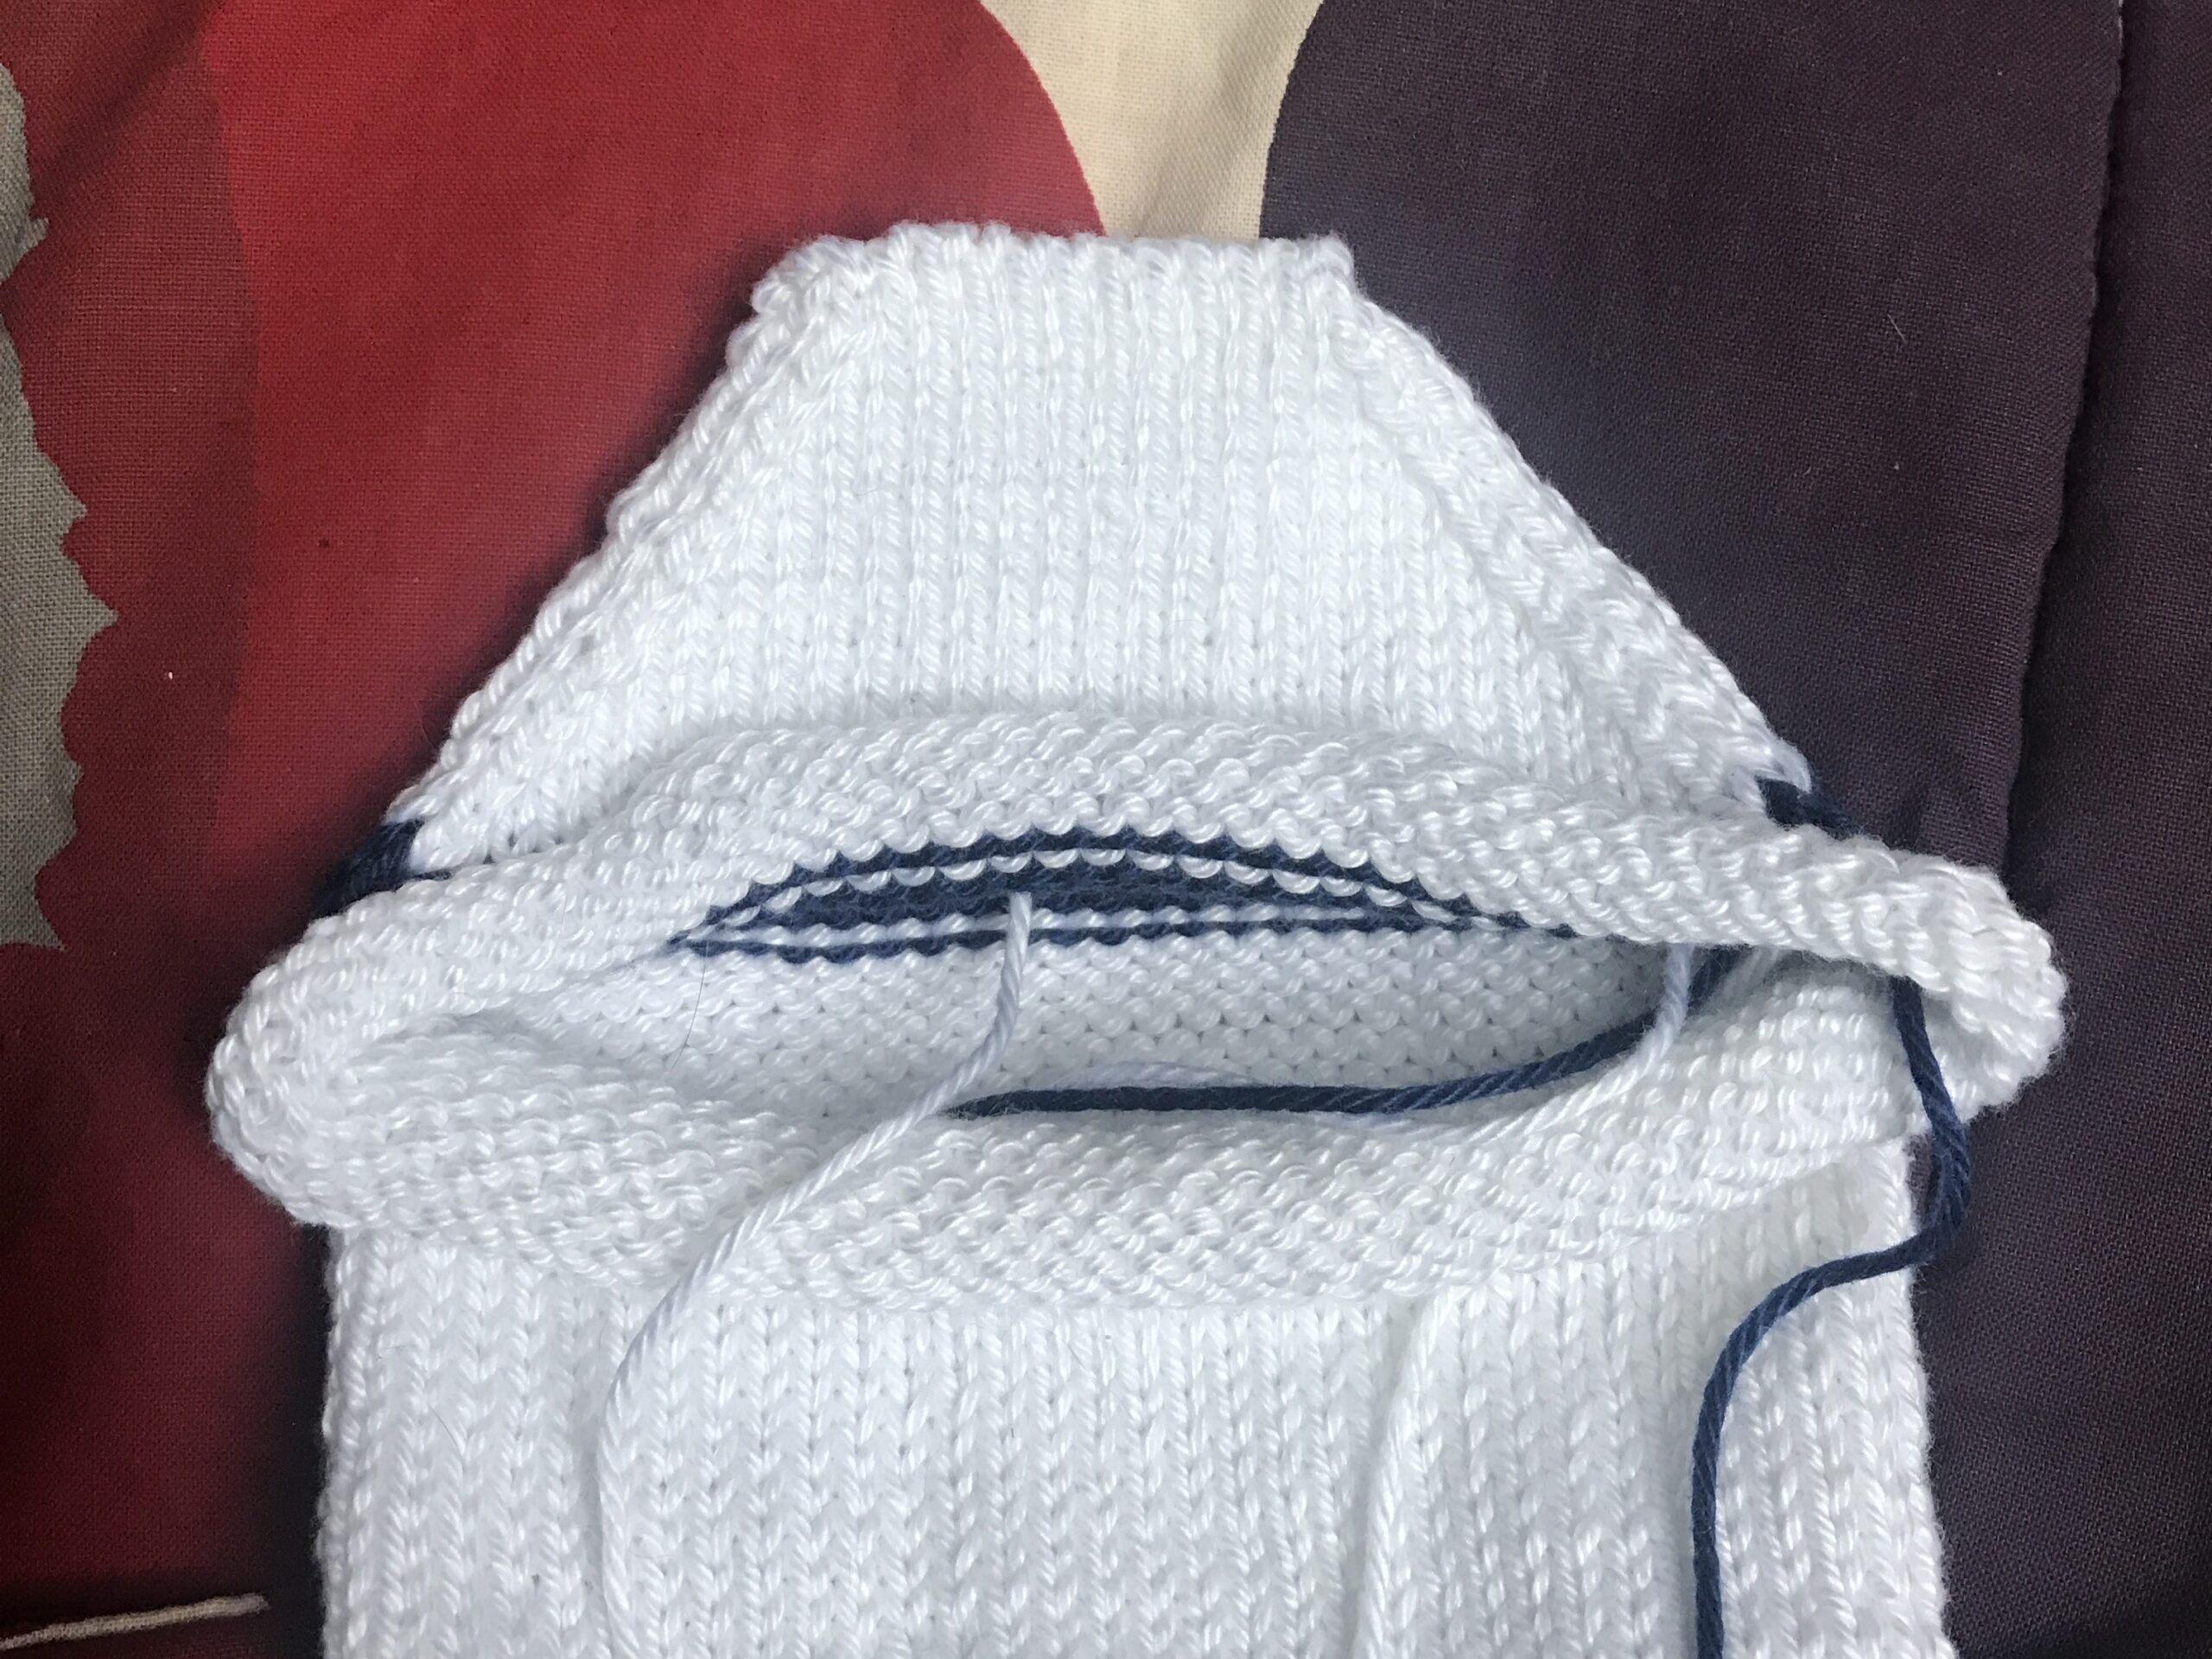
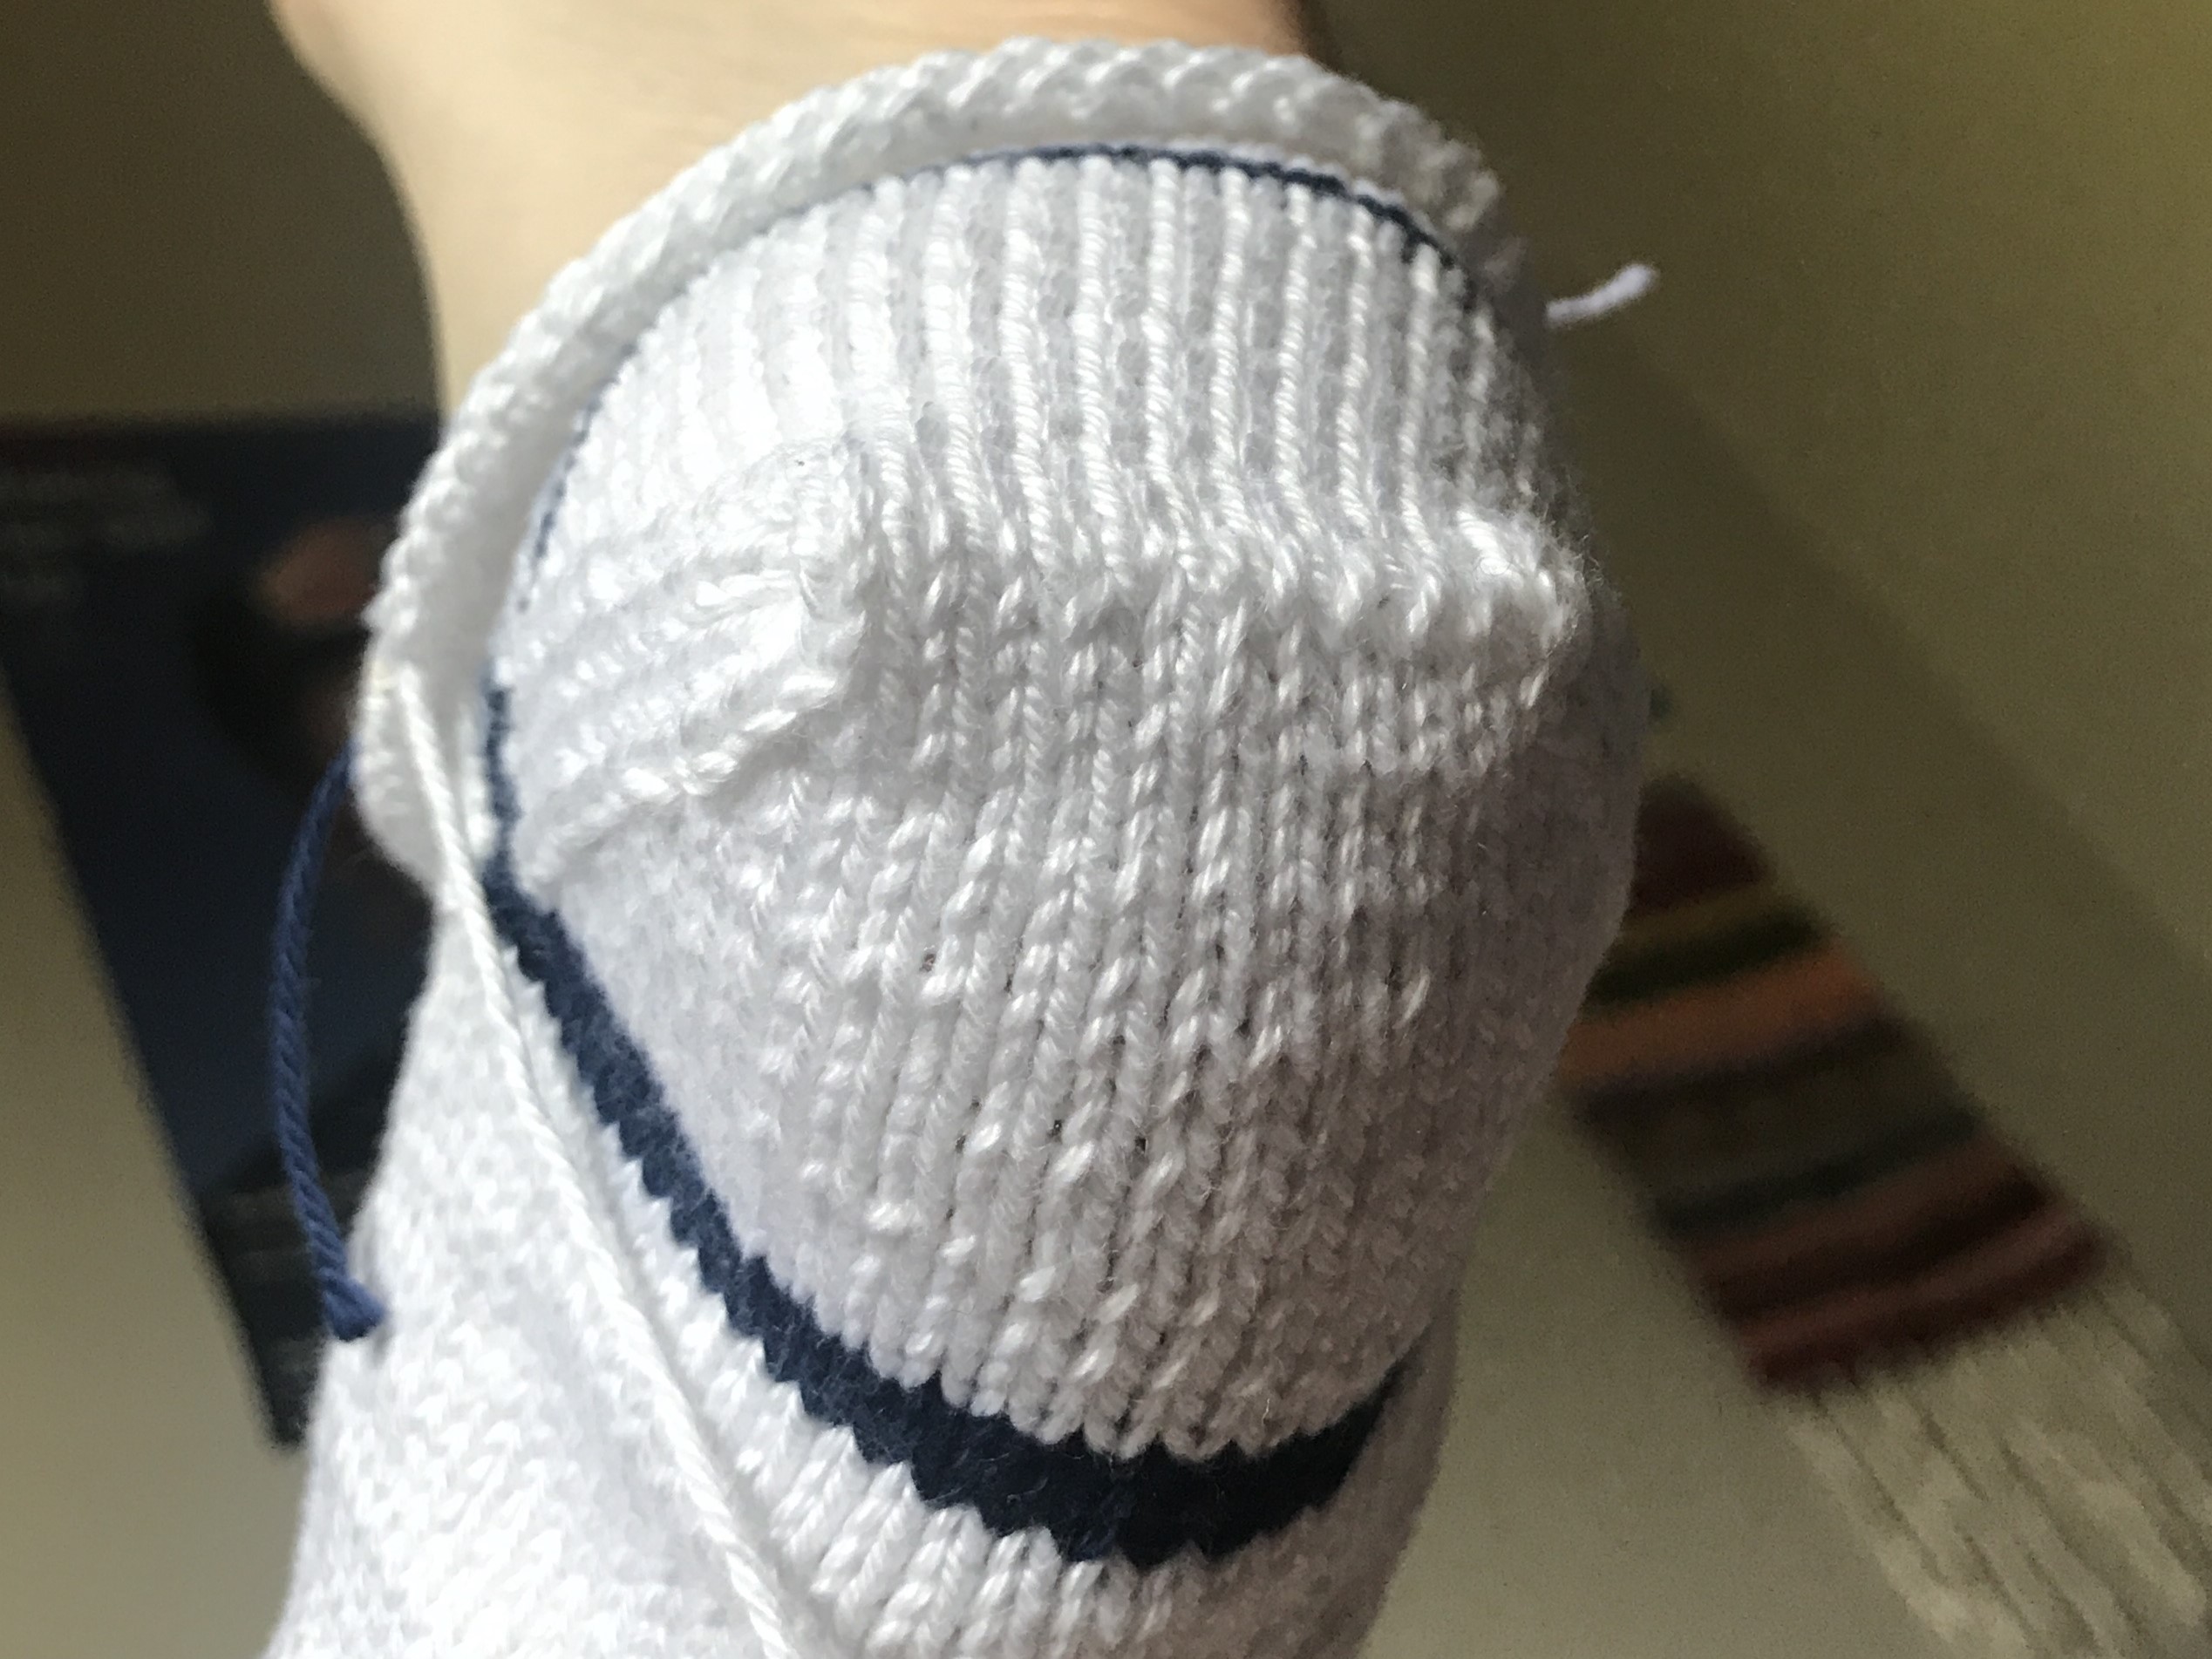
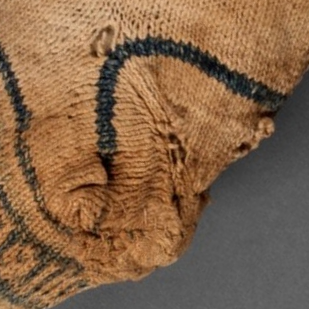
I was very pleased with the results of this heel experiment, because it looks almost exactly like the Egyptian heel. I think that the number of columns for the decrease is the same: knit one, decrease one on each end of each needle results in the four columns of stitches seen here. The decrease rows seem more prominent on the replica sock because they are relatively larger in comparison to the heel due to the gauge. It is puzzling that Egyptian knitters would know how to use decrease stitches to create the heel but not apply those same stitches to complete the toe, which can be done in exactly the same way. (Mittens are closed off in the same way.)
To any readers who have gotten this far, do check back in the future, as I intend to rip at least part of the sock out and see the sock through to the toe.
If you would like to try recreating the sock yourself, you can find the pattern on Ravelry and below:


